I’ve always been impressed with my mom’s ability to sew and I finally got a chance to take lessons during my last trip to Portland. My mom set up two sewing machines side-by-side and walked me through making my very first bag.
Step 1: Prepare the lining and fabric strips
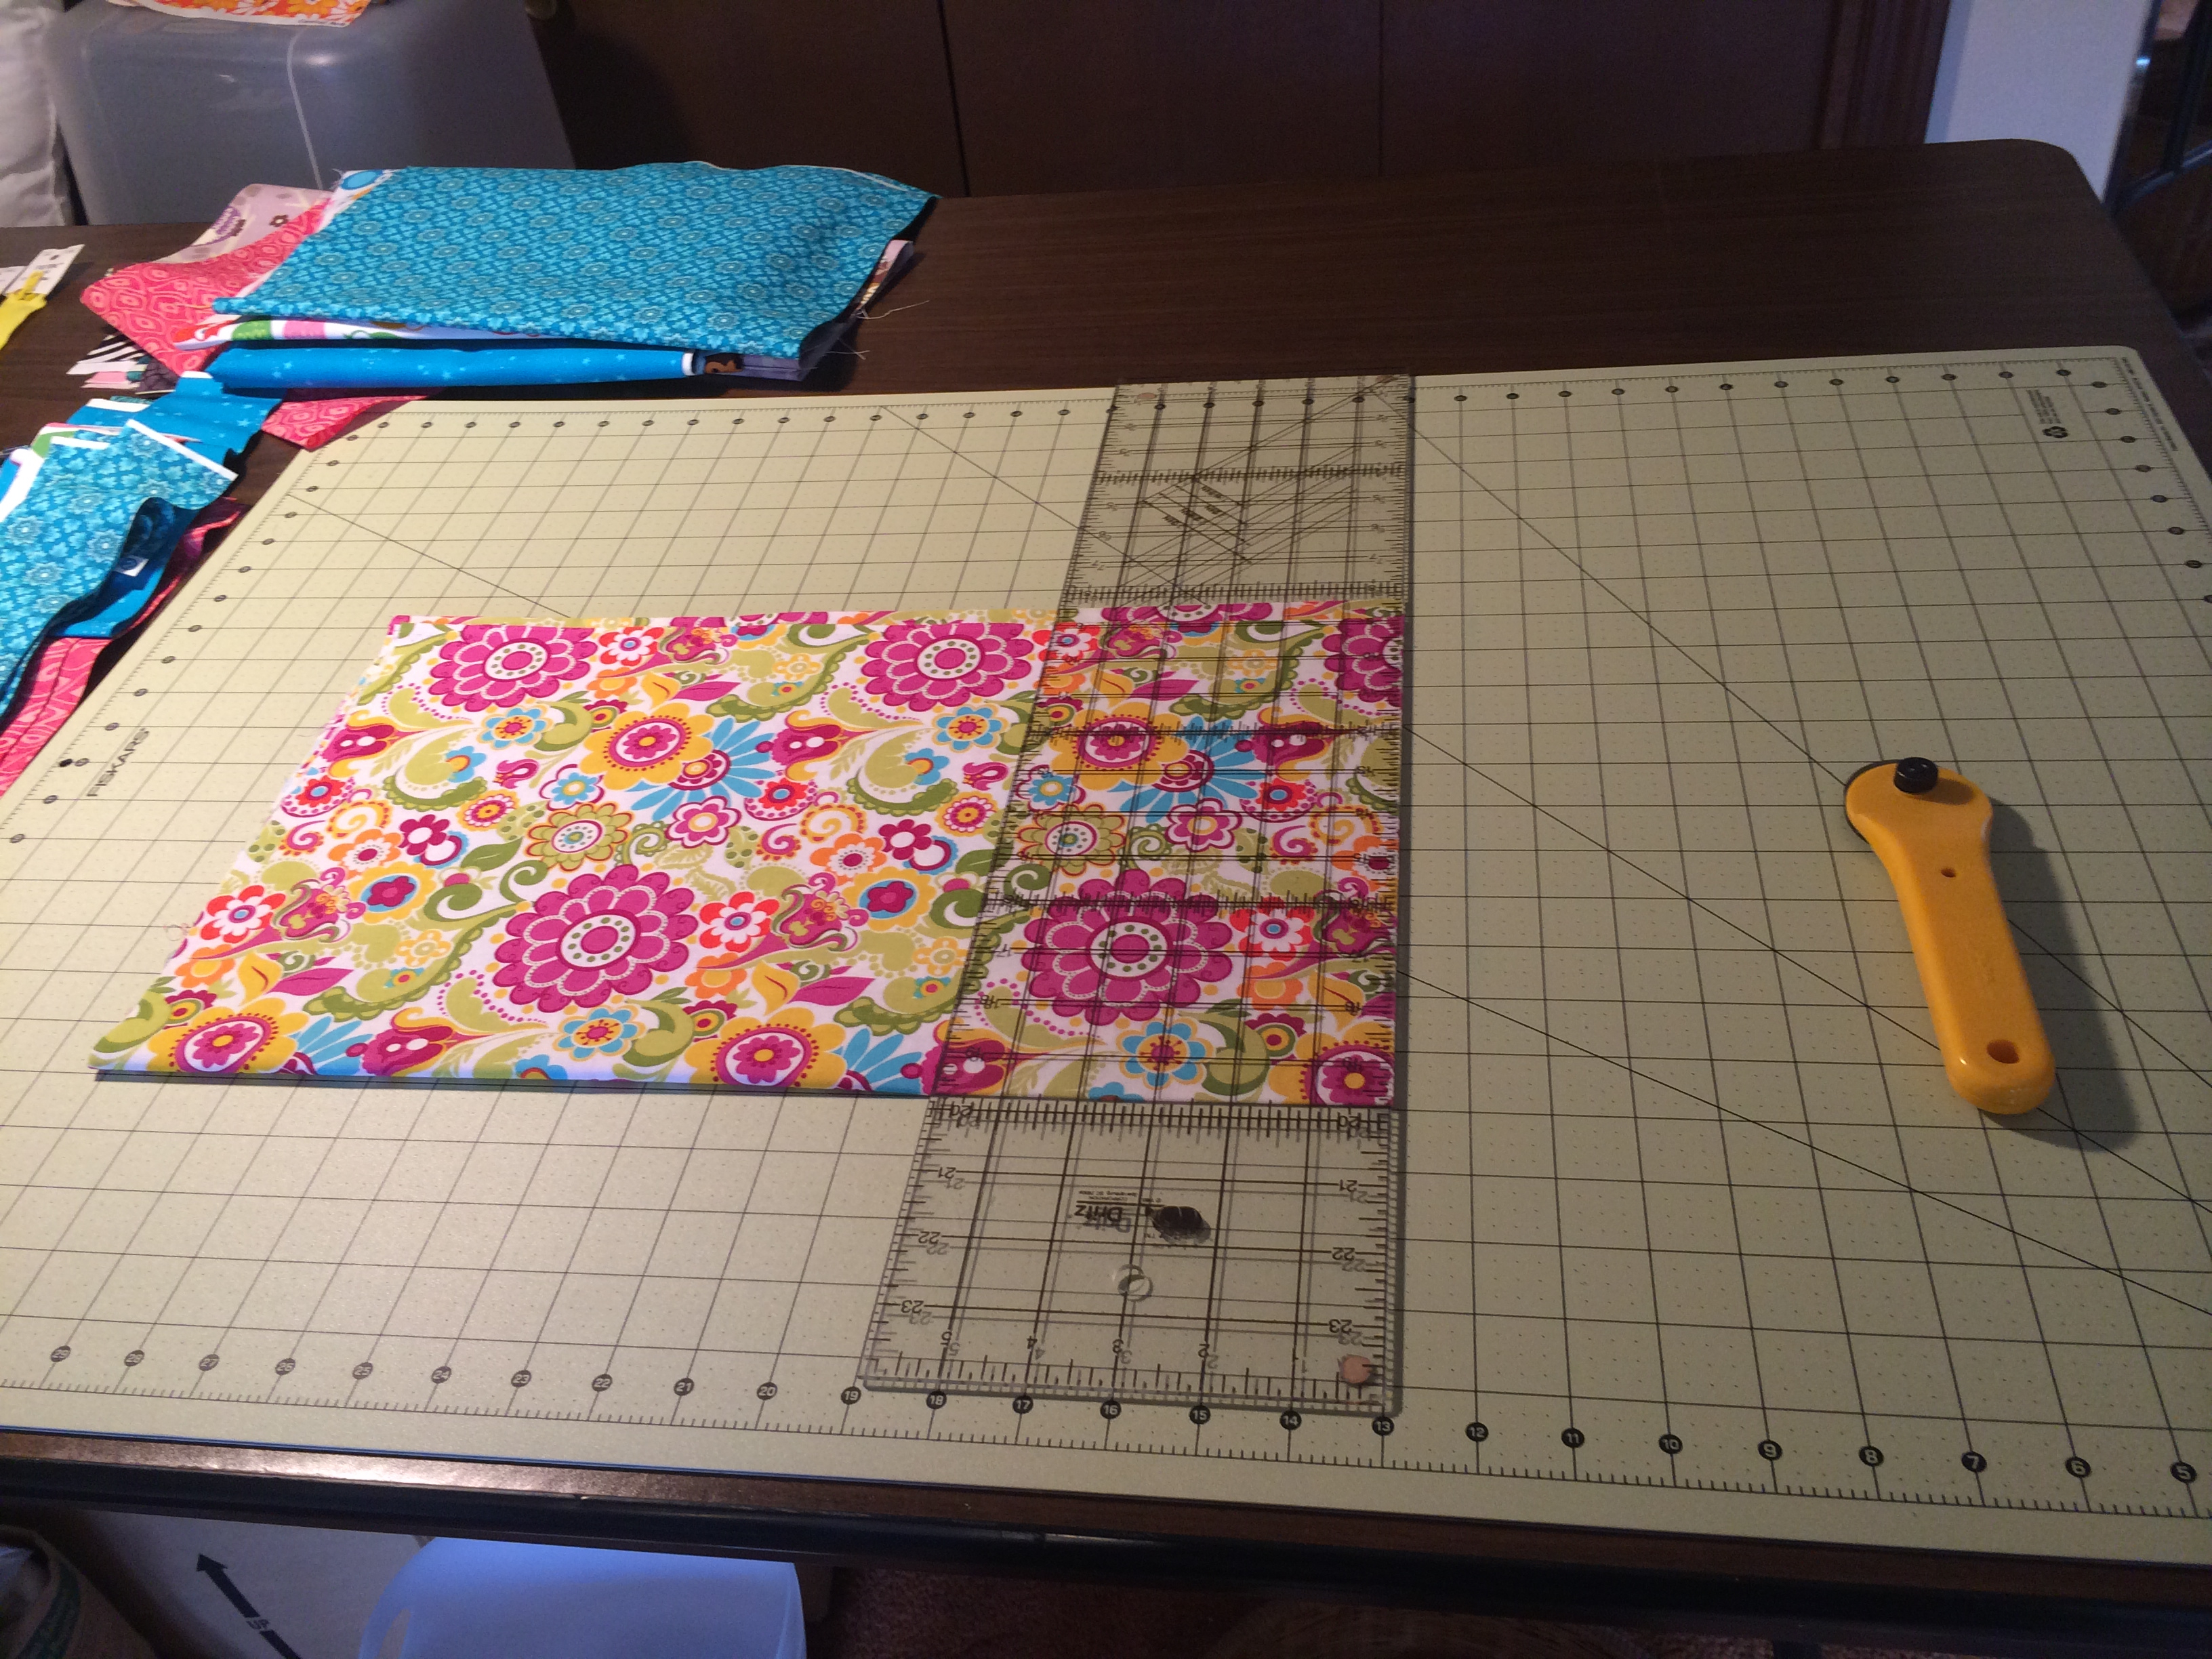 My favorite part of the project was probably picking out all the different patterns at the Fabric Depot in SE Portland. My mom and I could spend hours there, and quite a bit of money.
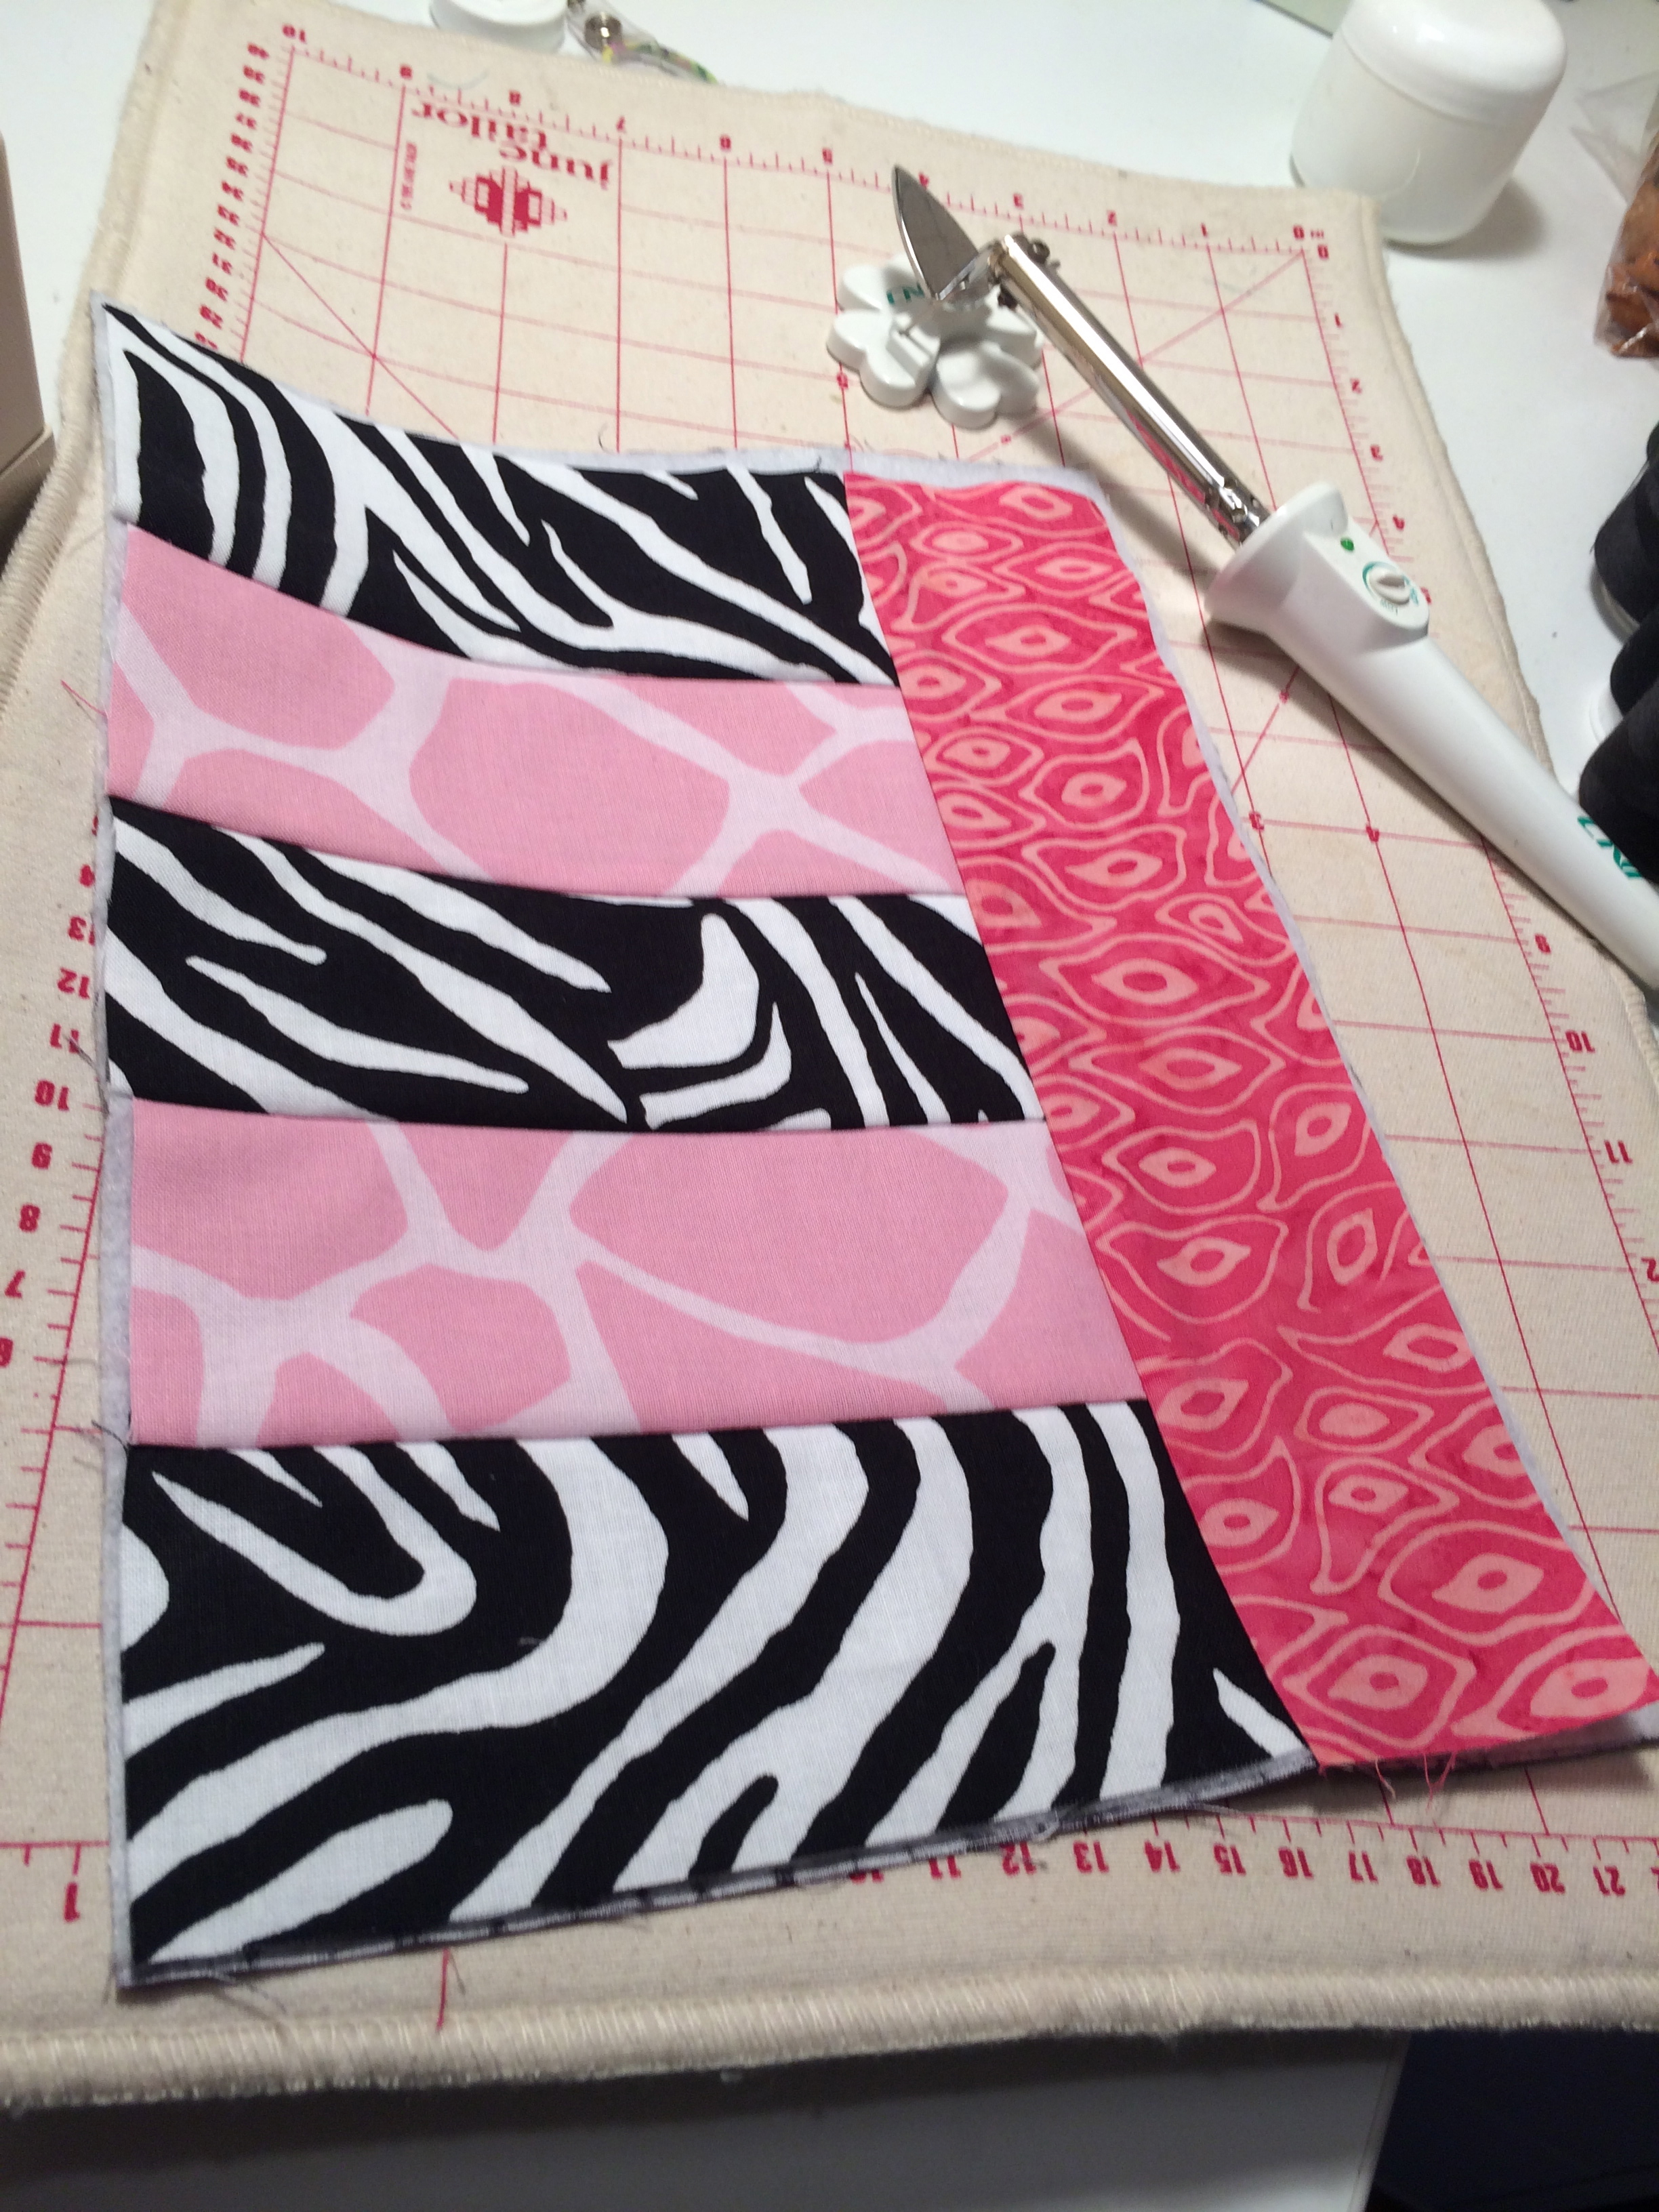
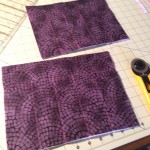
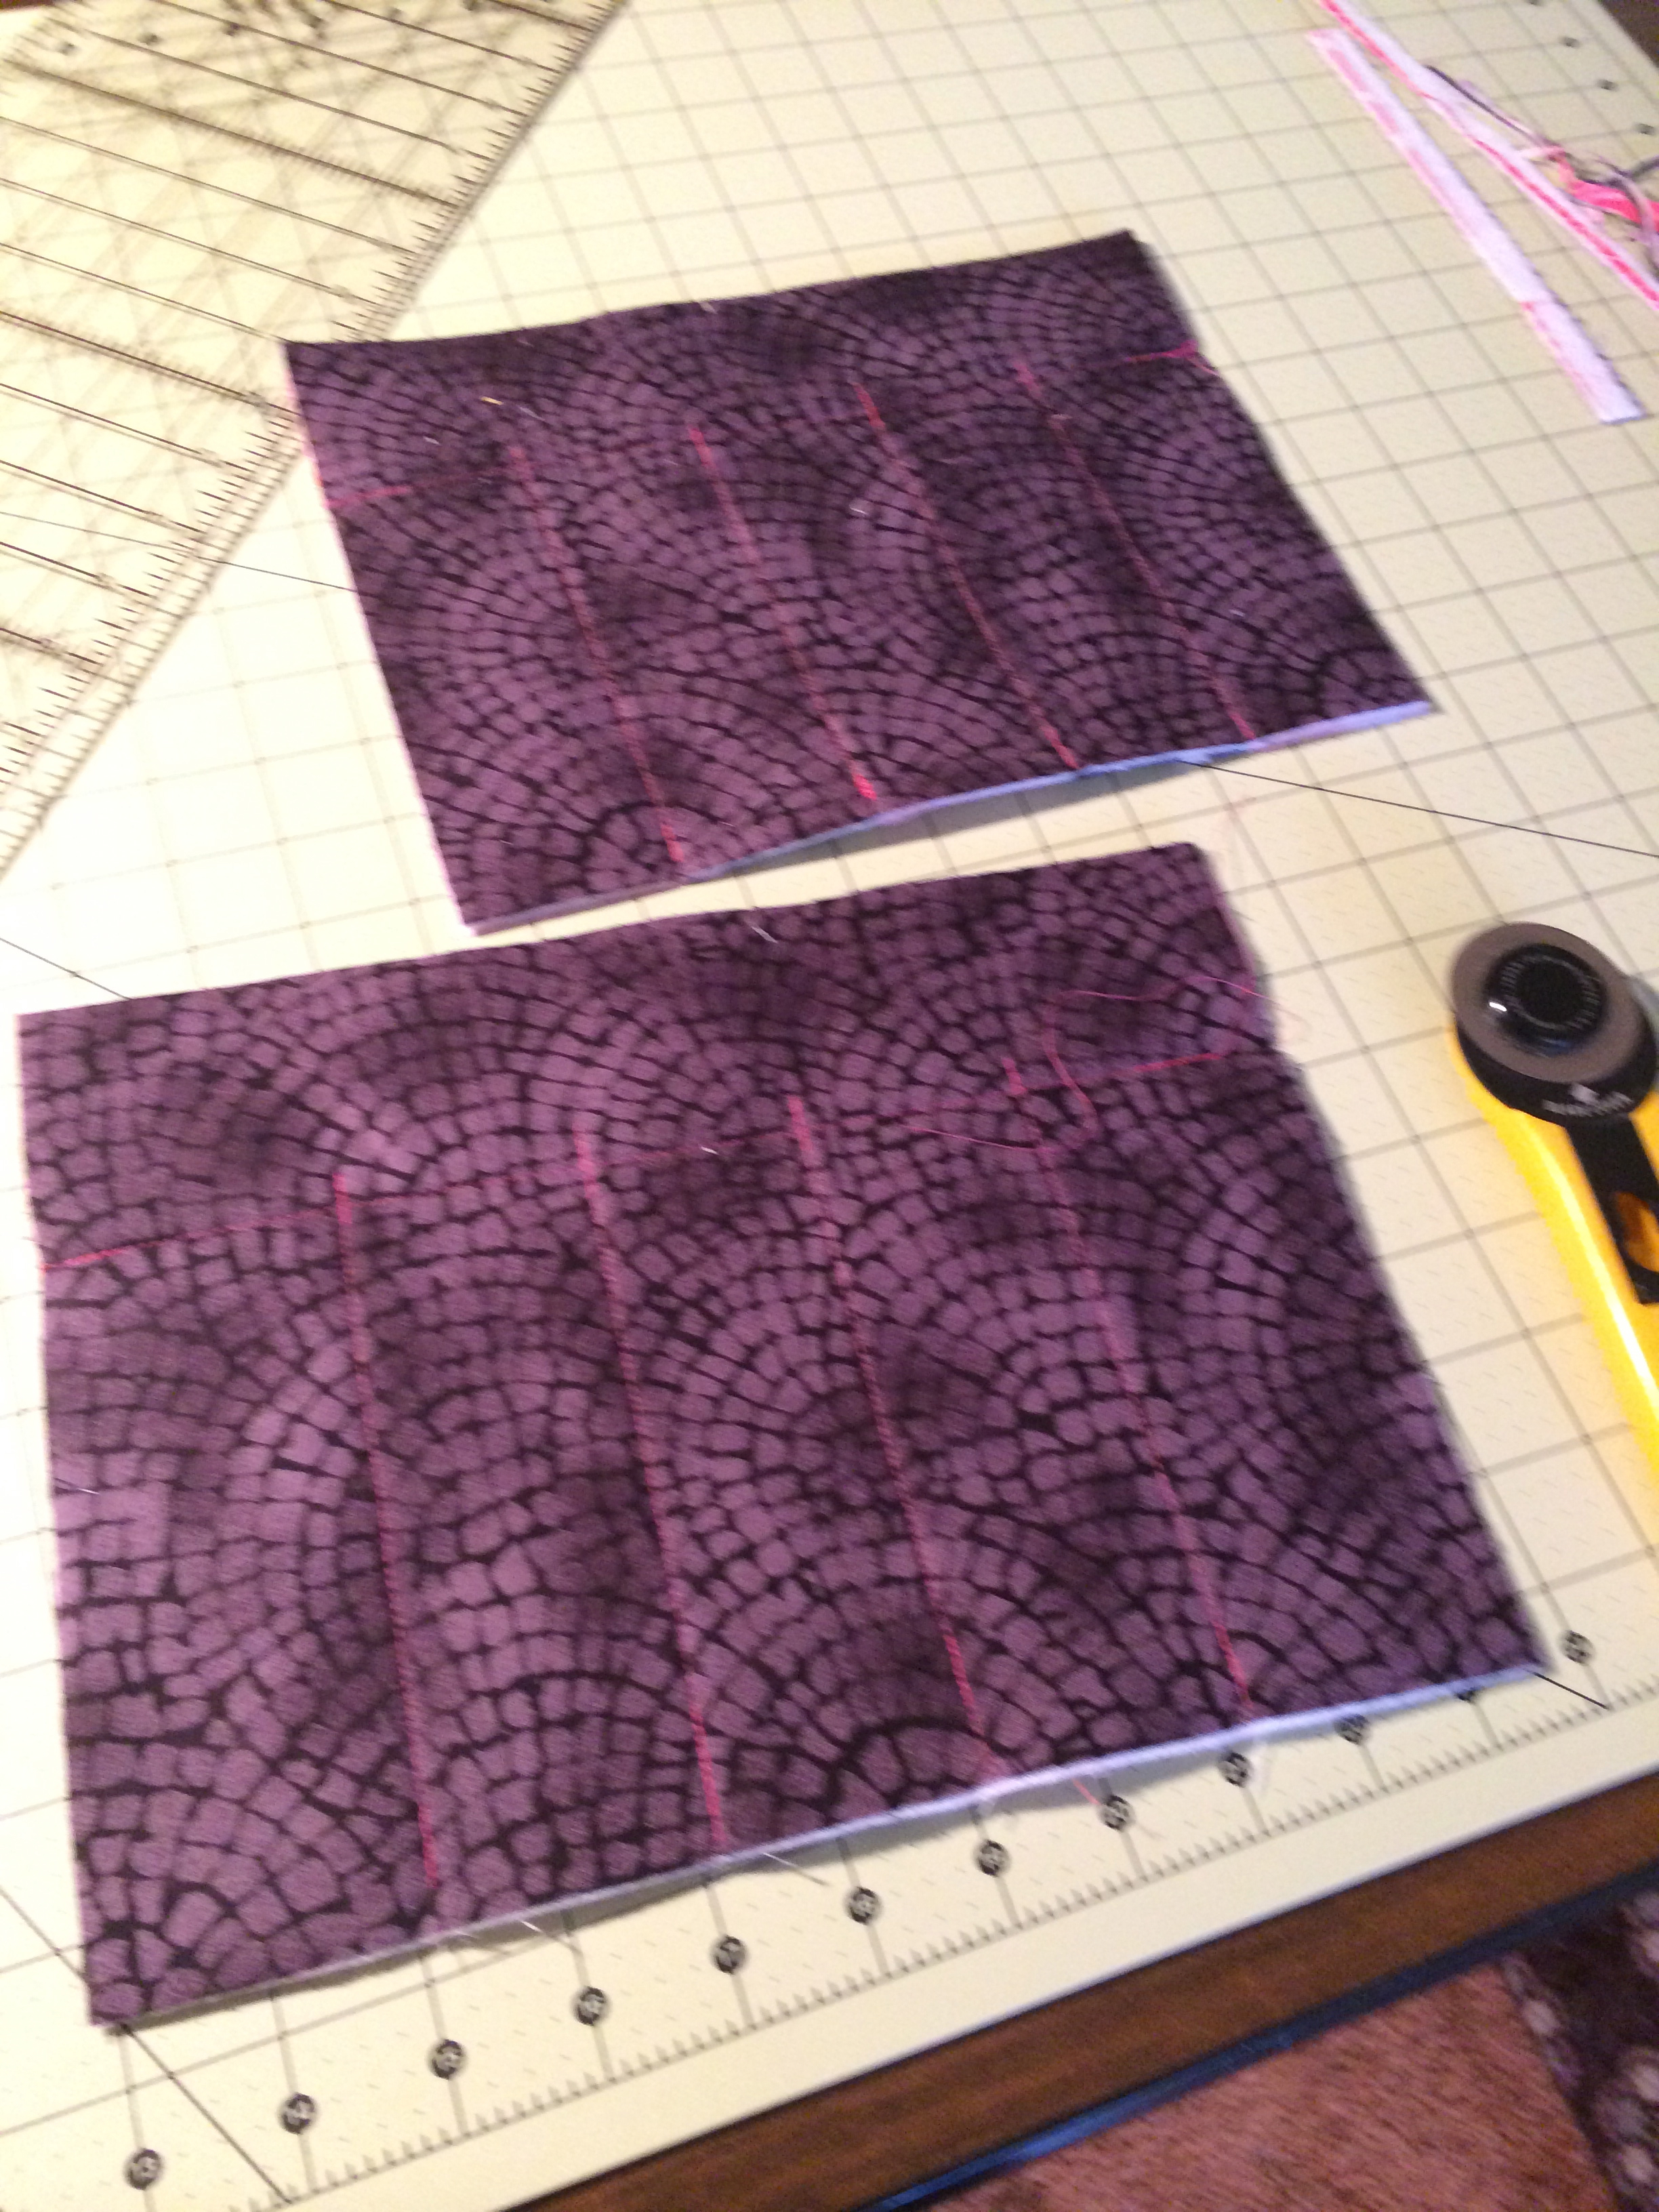
Once we got our fabrics we set about mixing and matching, and cutting the appropriate sized pieces. I quickly got over my fear of the (aforementioned) rotary blade, though I needed to be better about following the old adage – measure twice, cut once.
Step 2: Adhere the batting to the lining
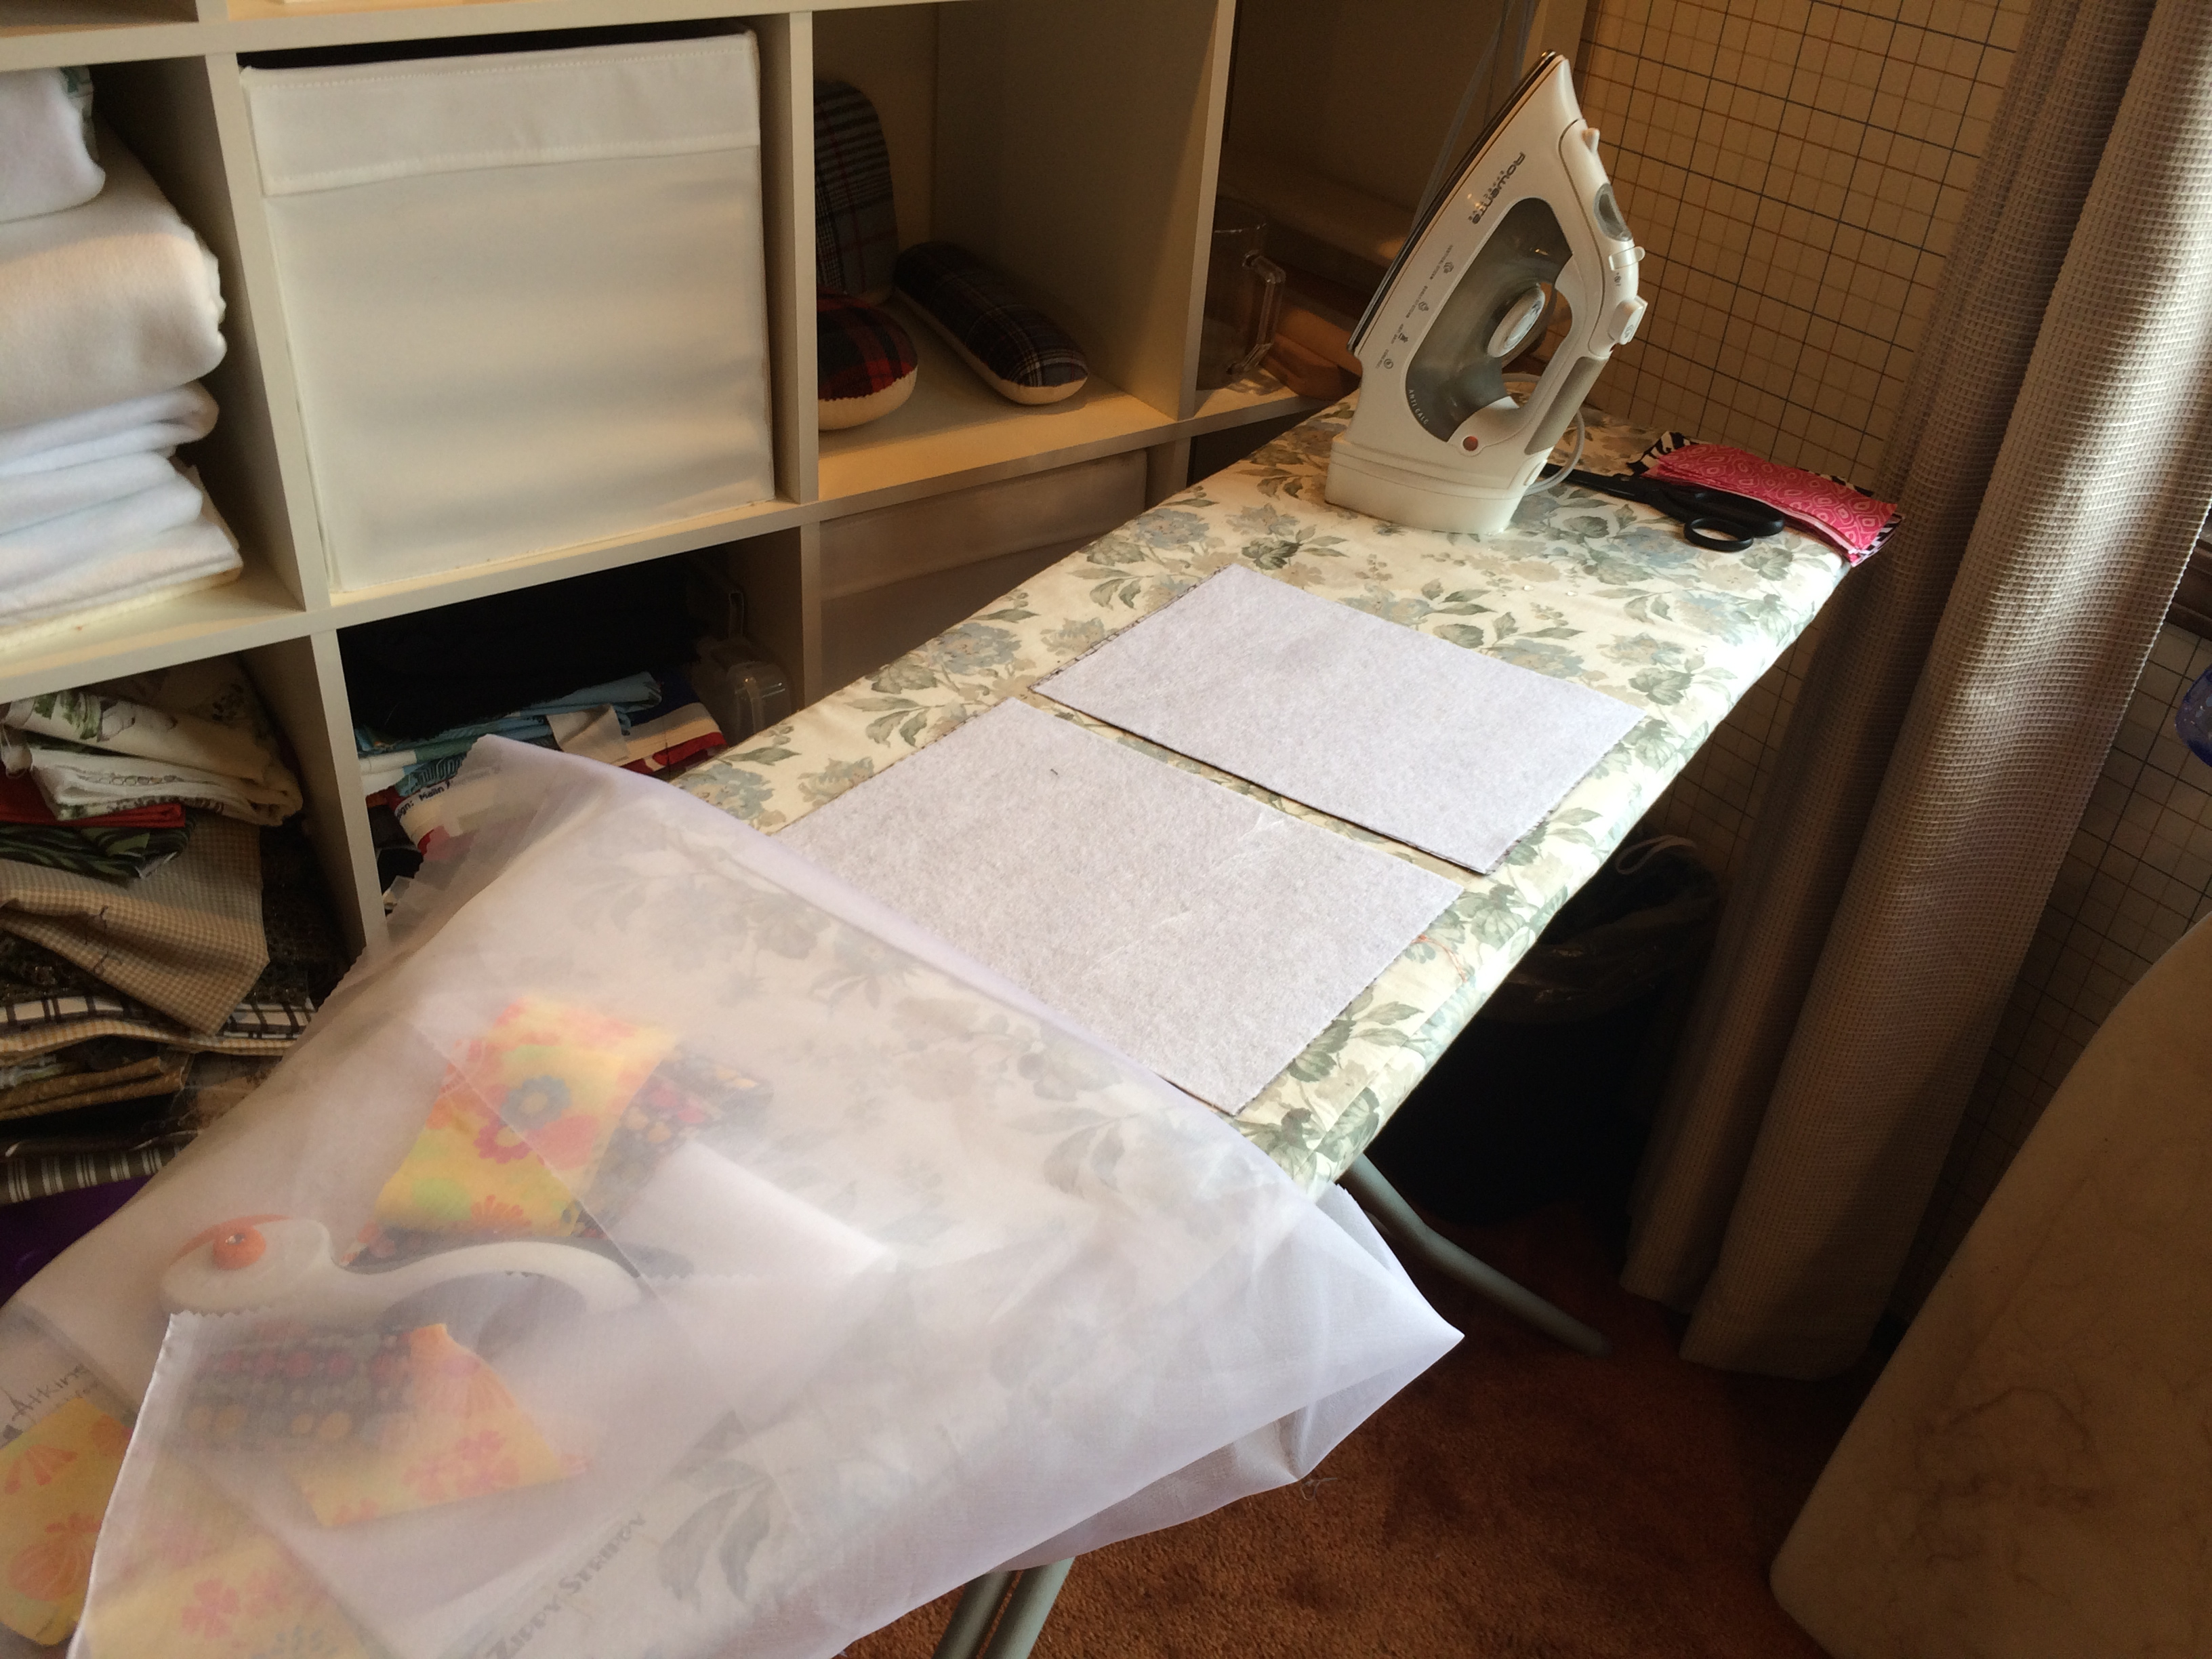
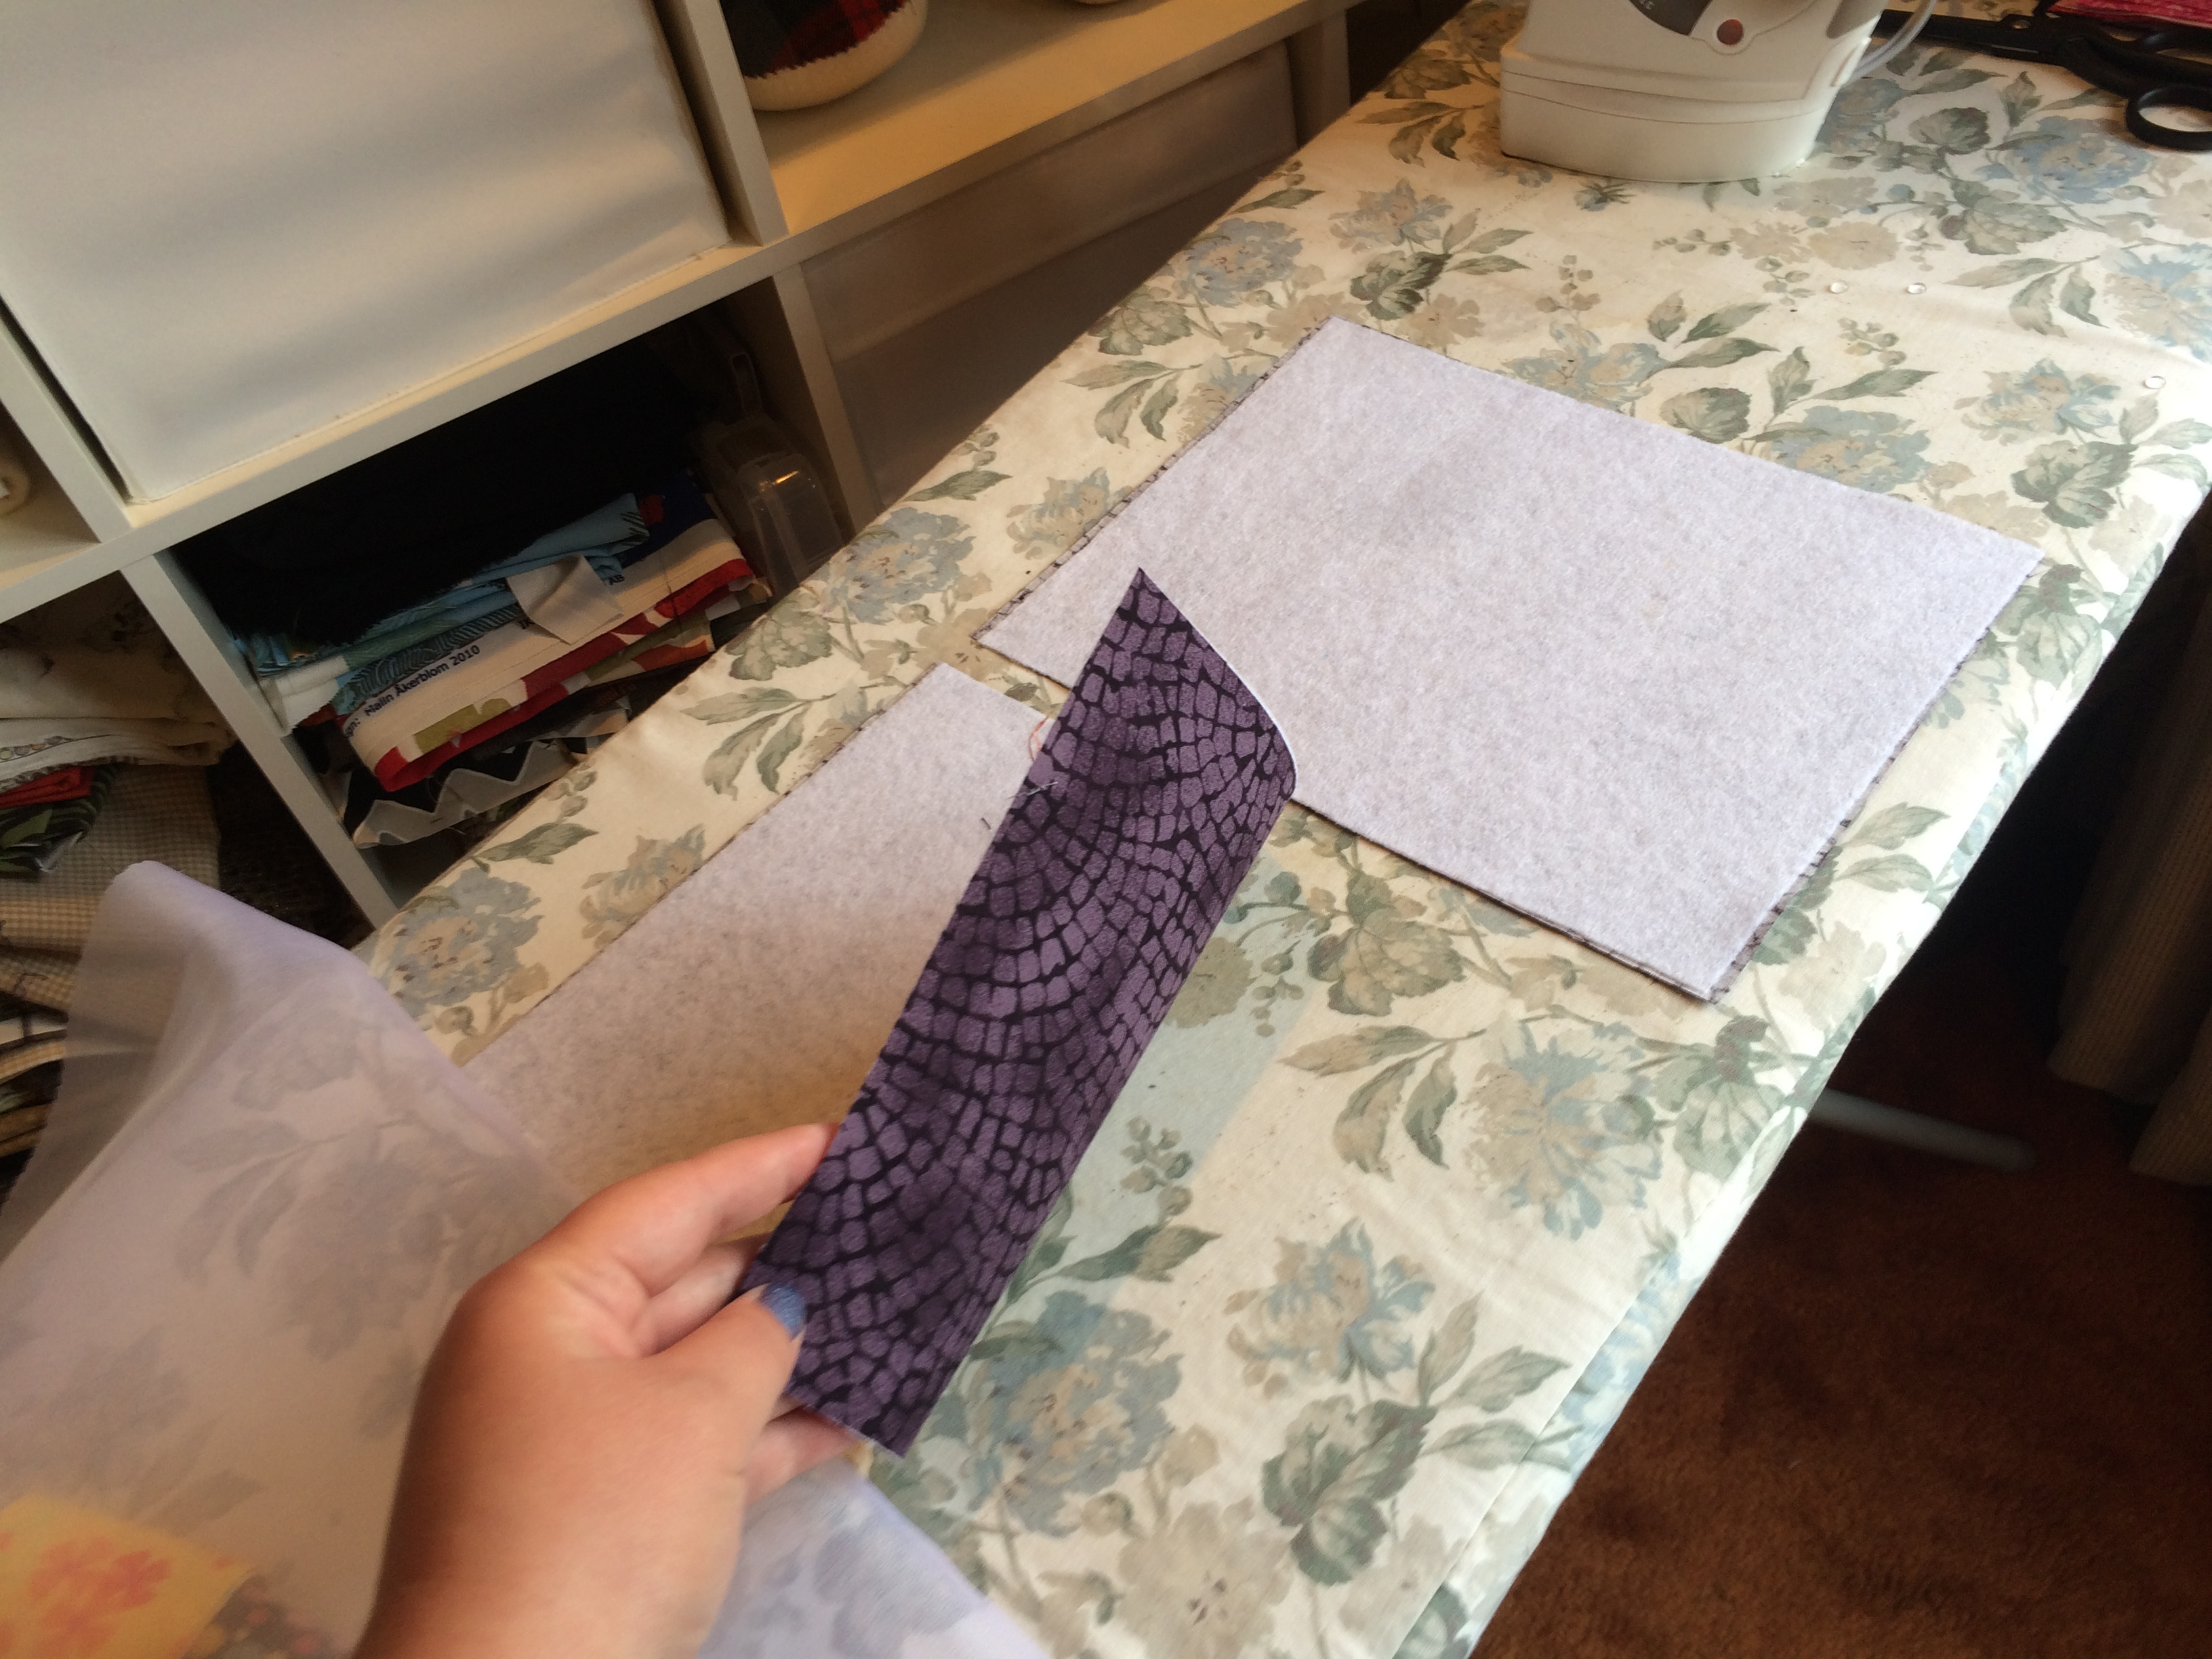
The batting, as far as I understand, simply serves to give the bag added structure and padding. The batting we used adhered to the lining with heat. I cut the pieces of batting slightly smaller than the lining and applied an iron to the fabric side for a few seconds.
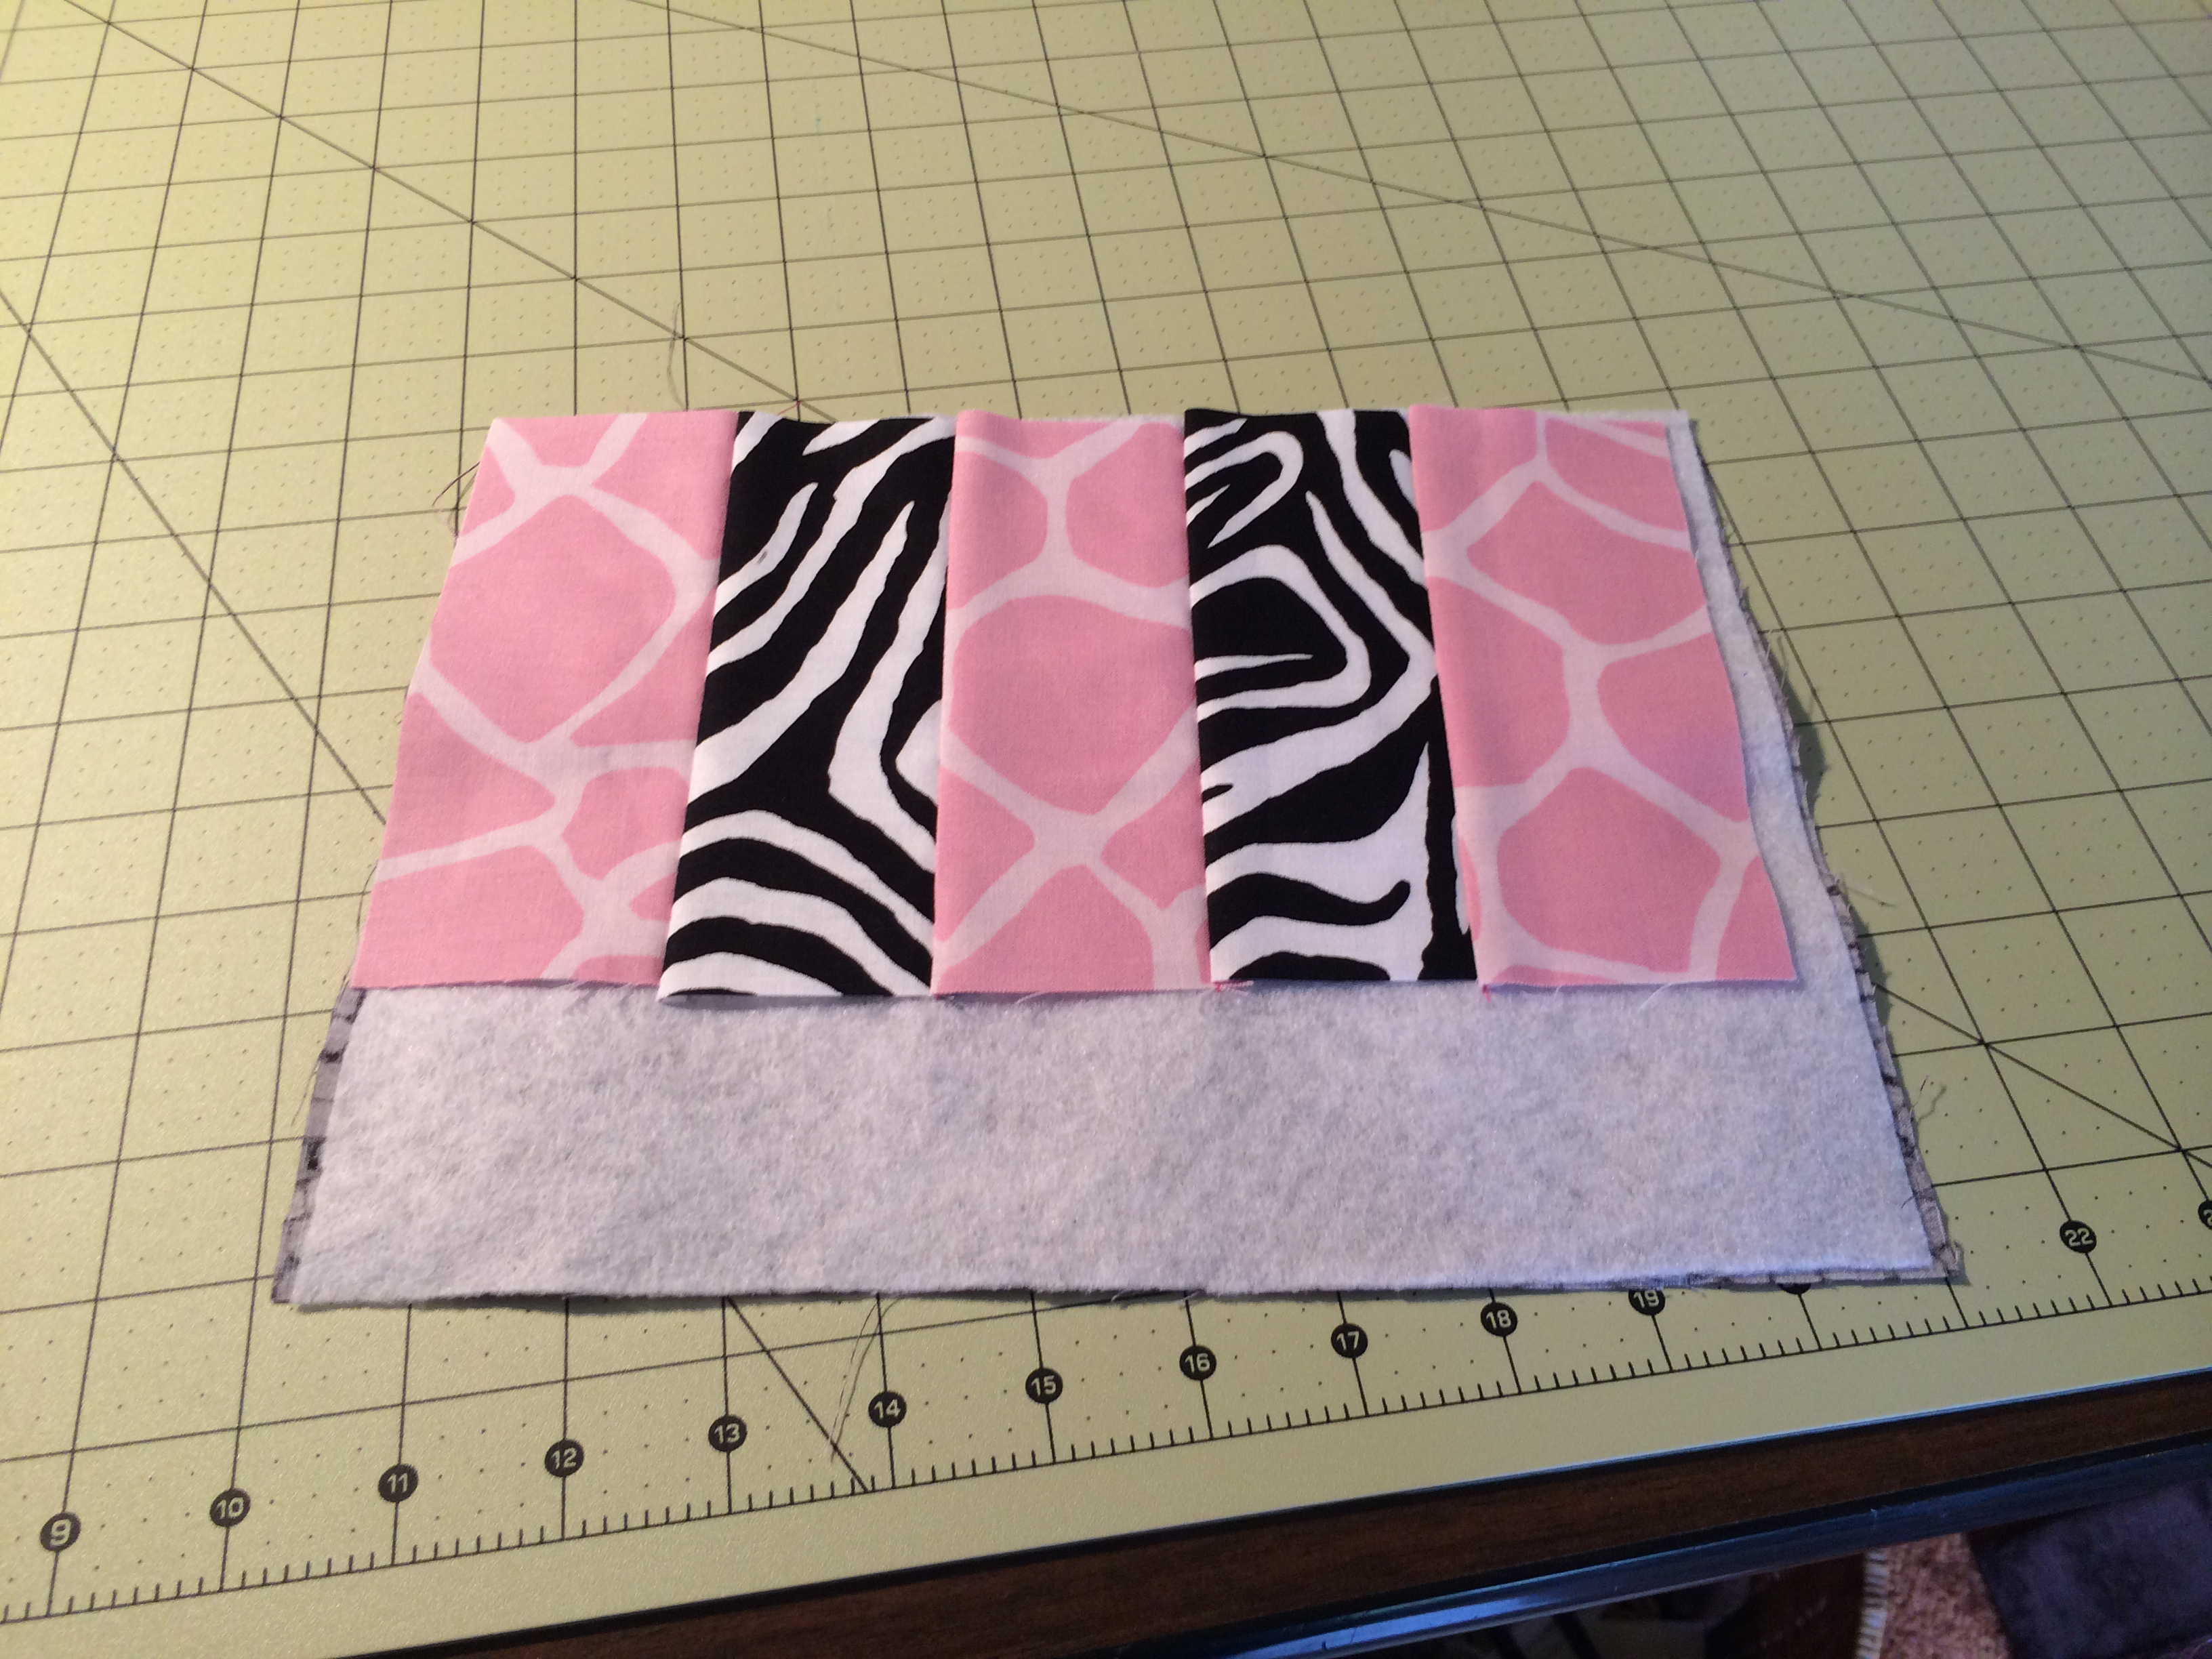
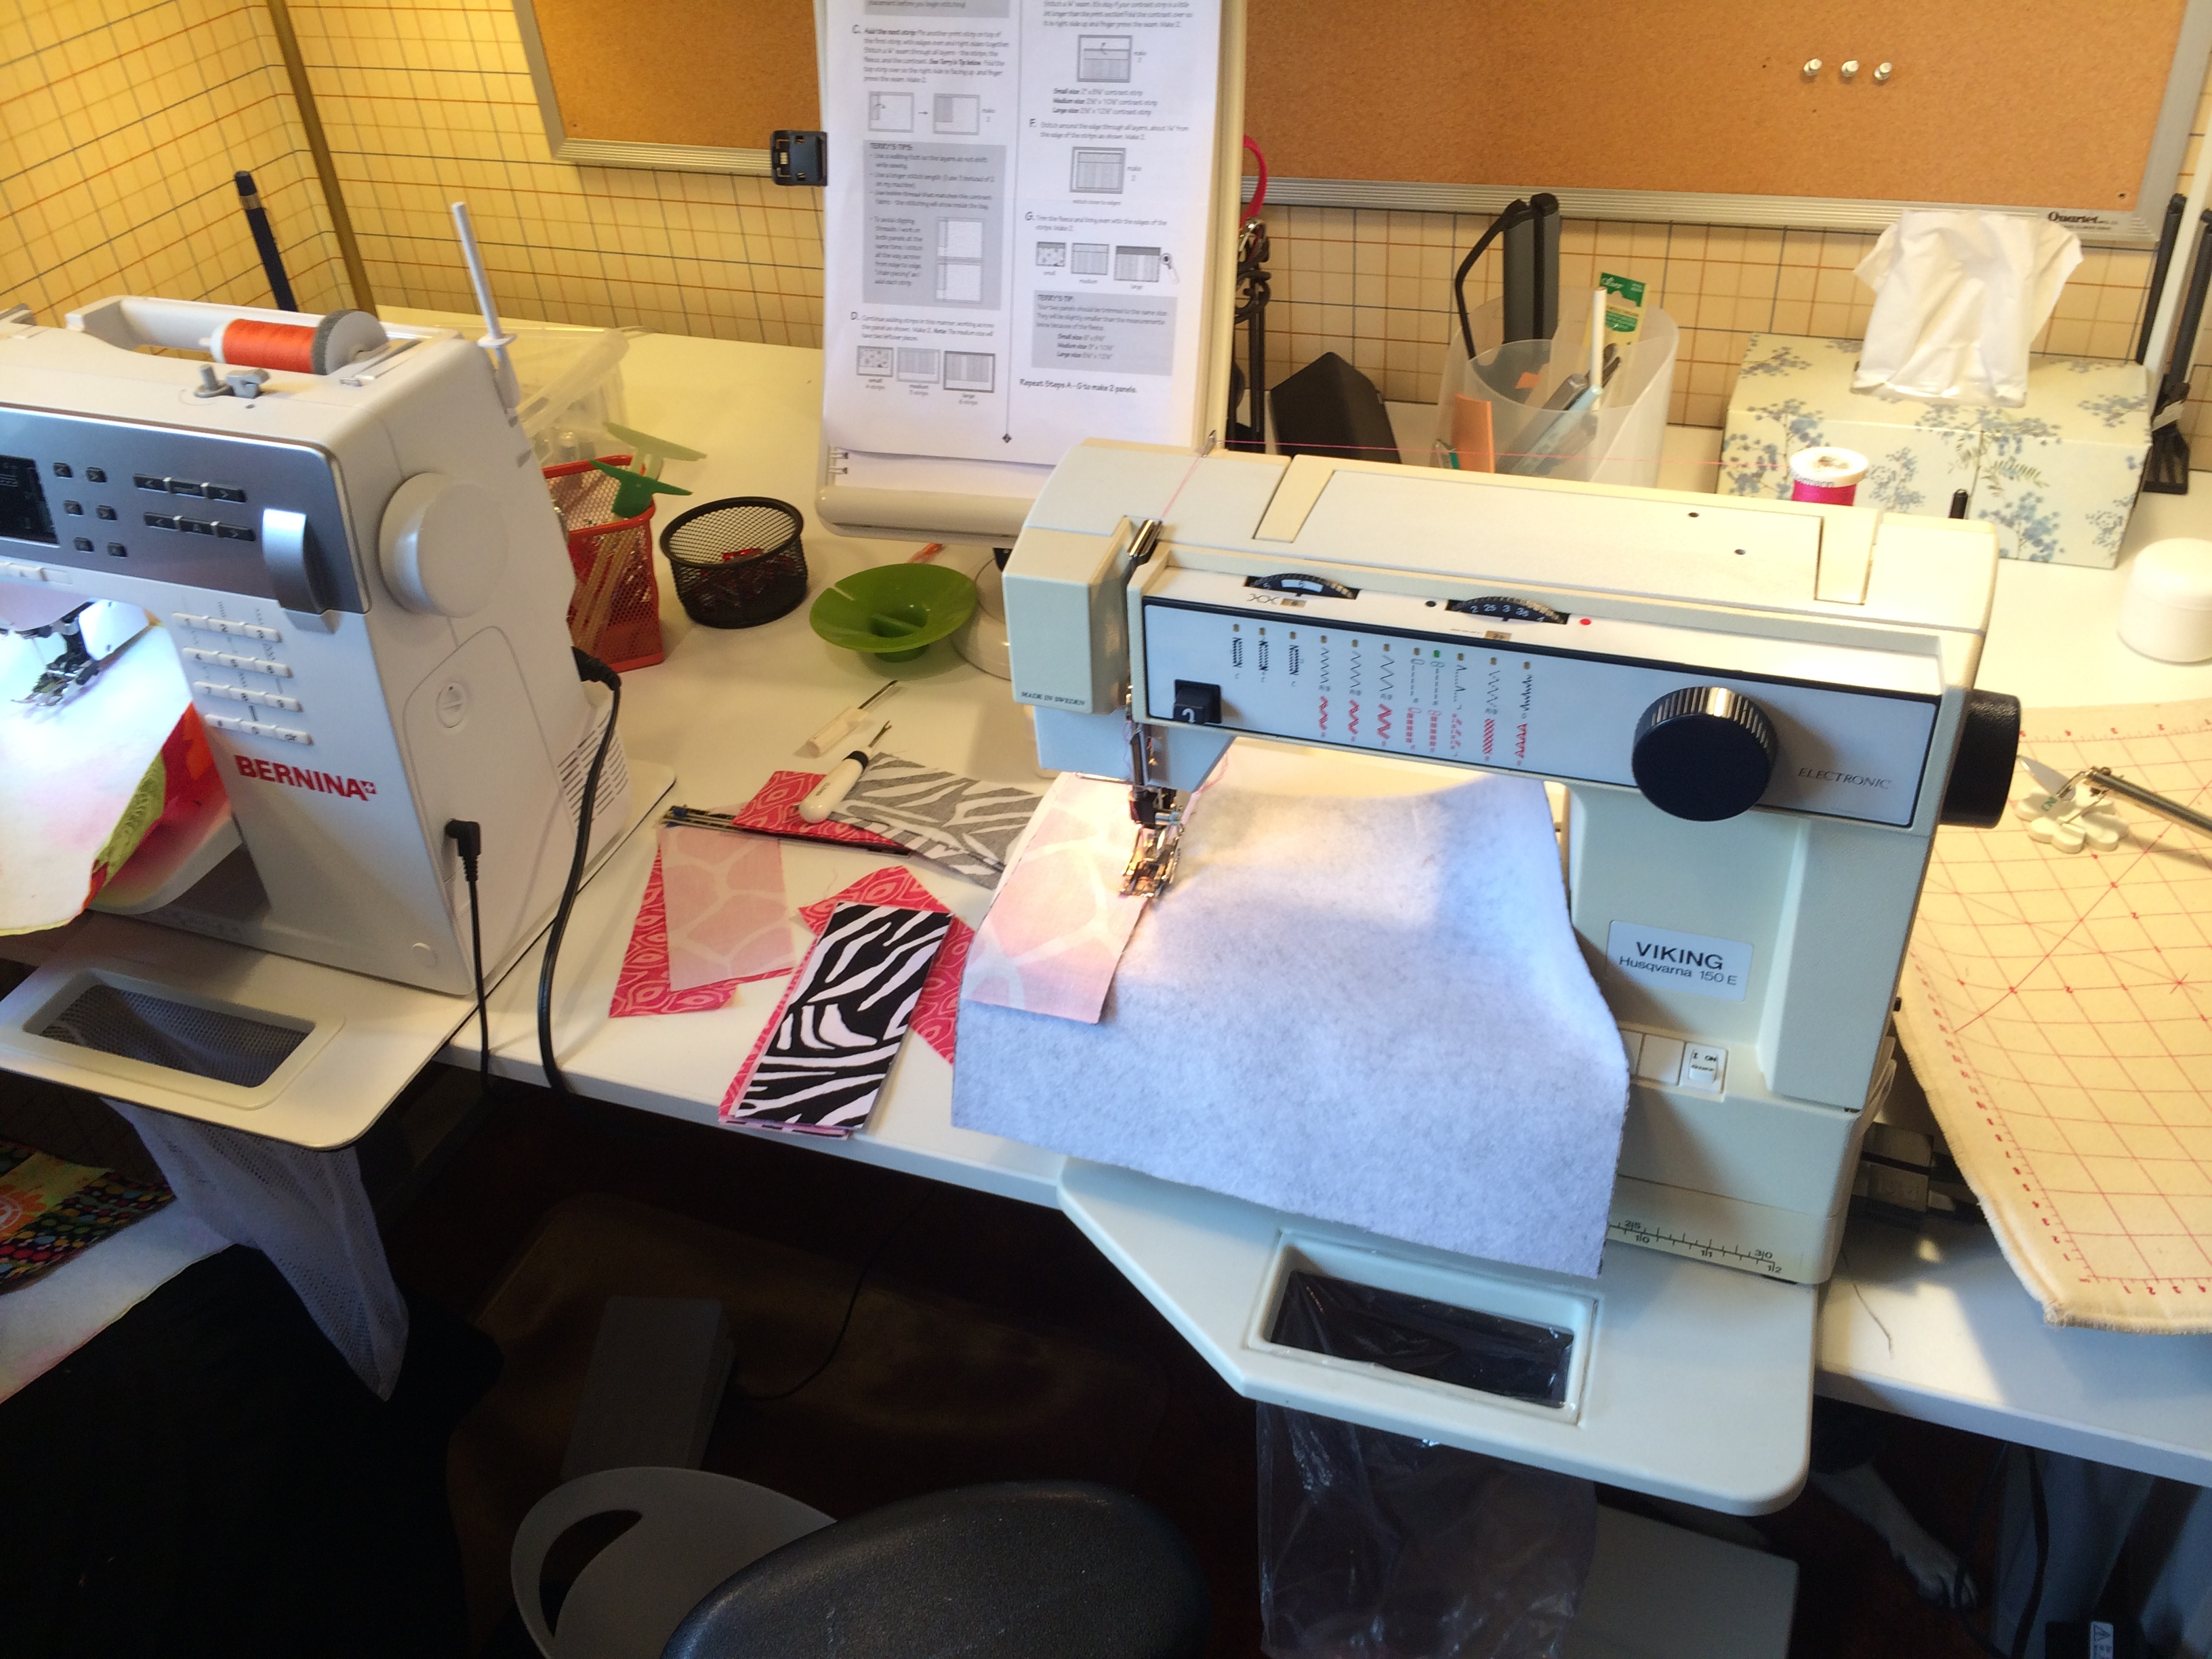
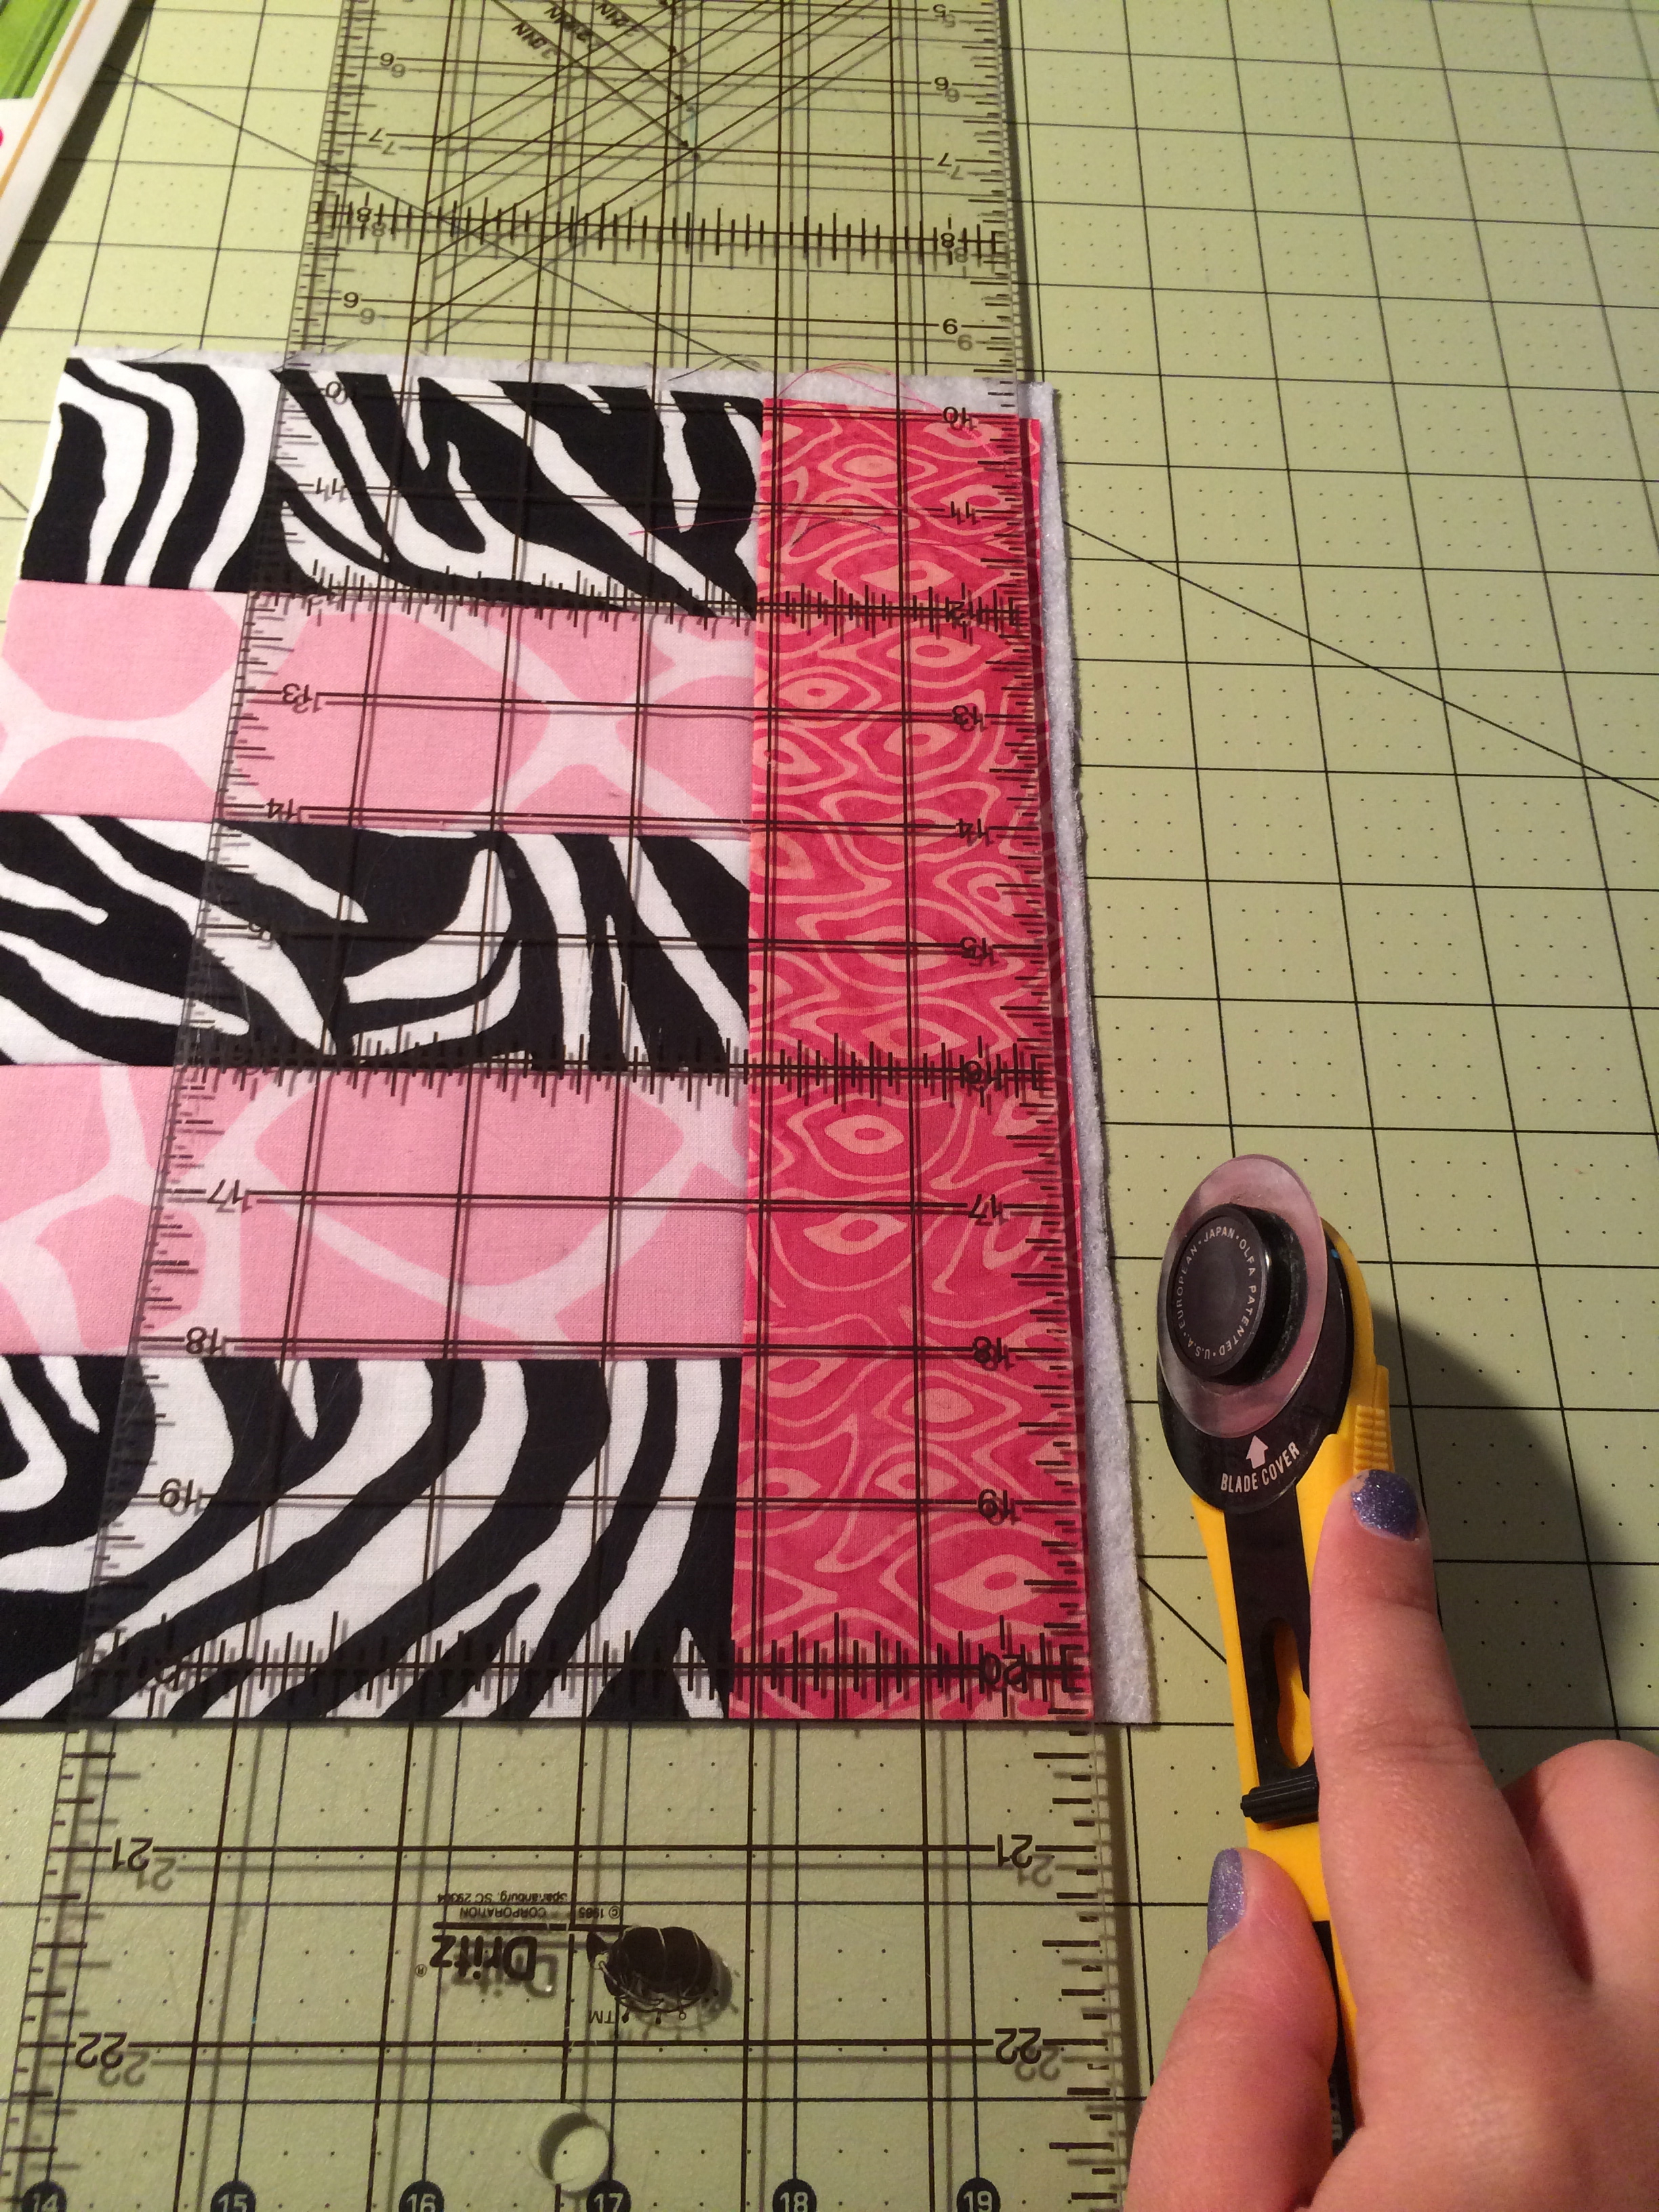
Step 3: Sew fabric strips to batting
-
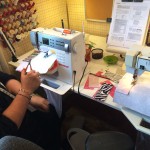
- Side-by-side machines!
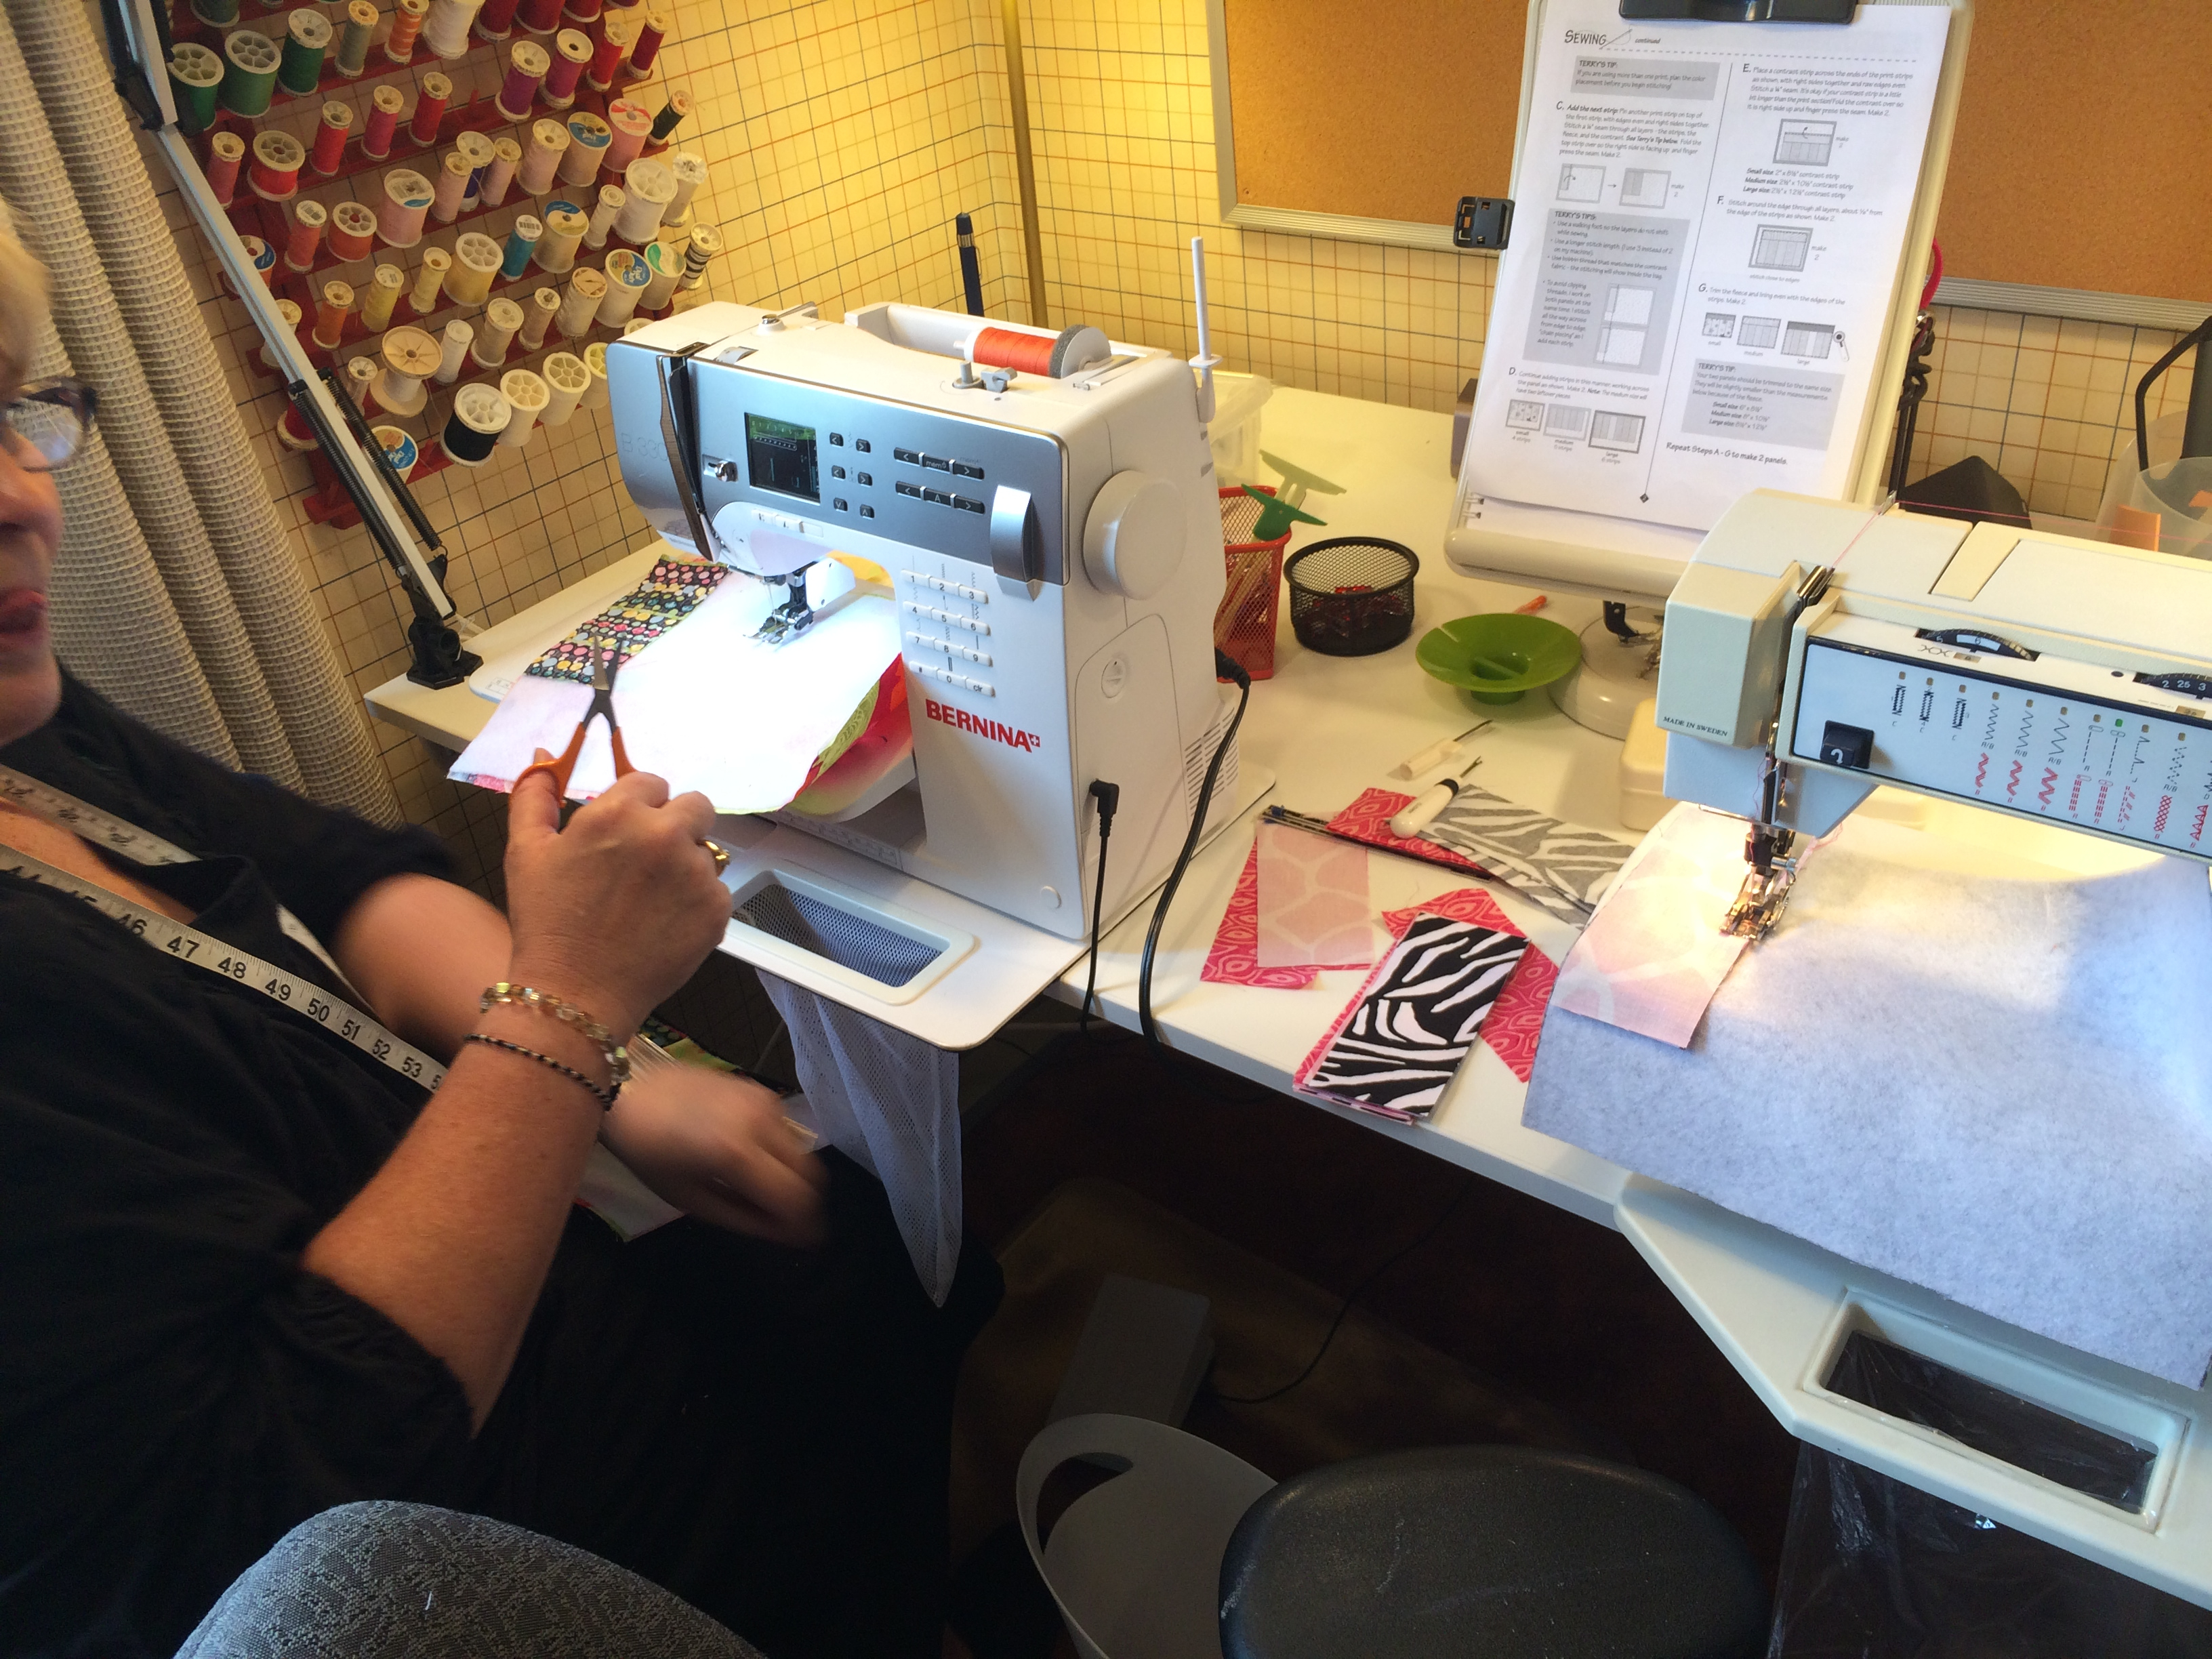
This was my first time using a sewing machine and after a few false starts I was able to get fairly consistent straight lines. It was fun having my mom sitting right next to me, guiding me through each step.
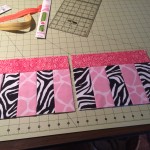
Step 4: Iron and Trim Each Side
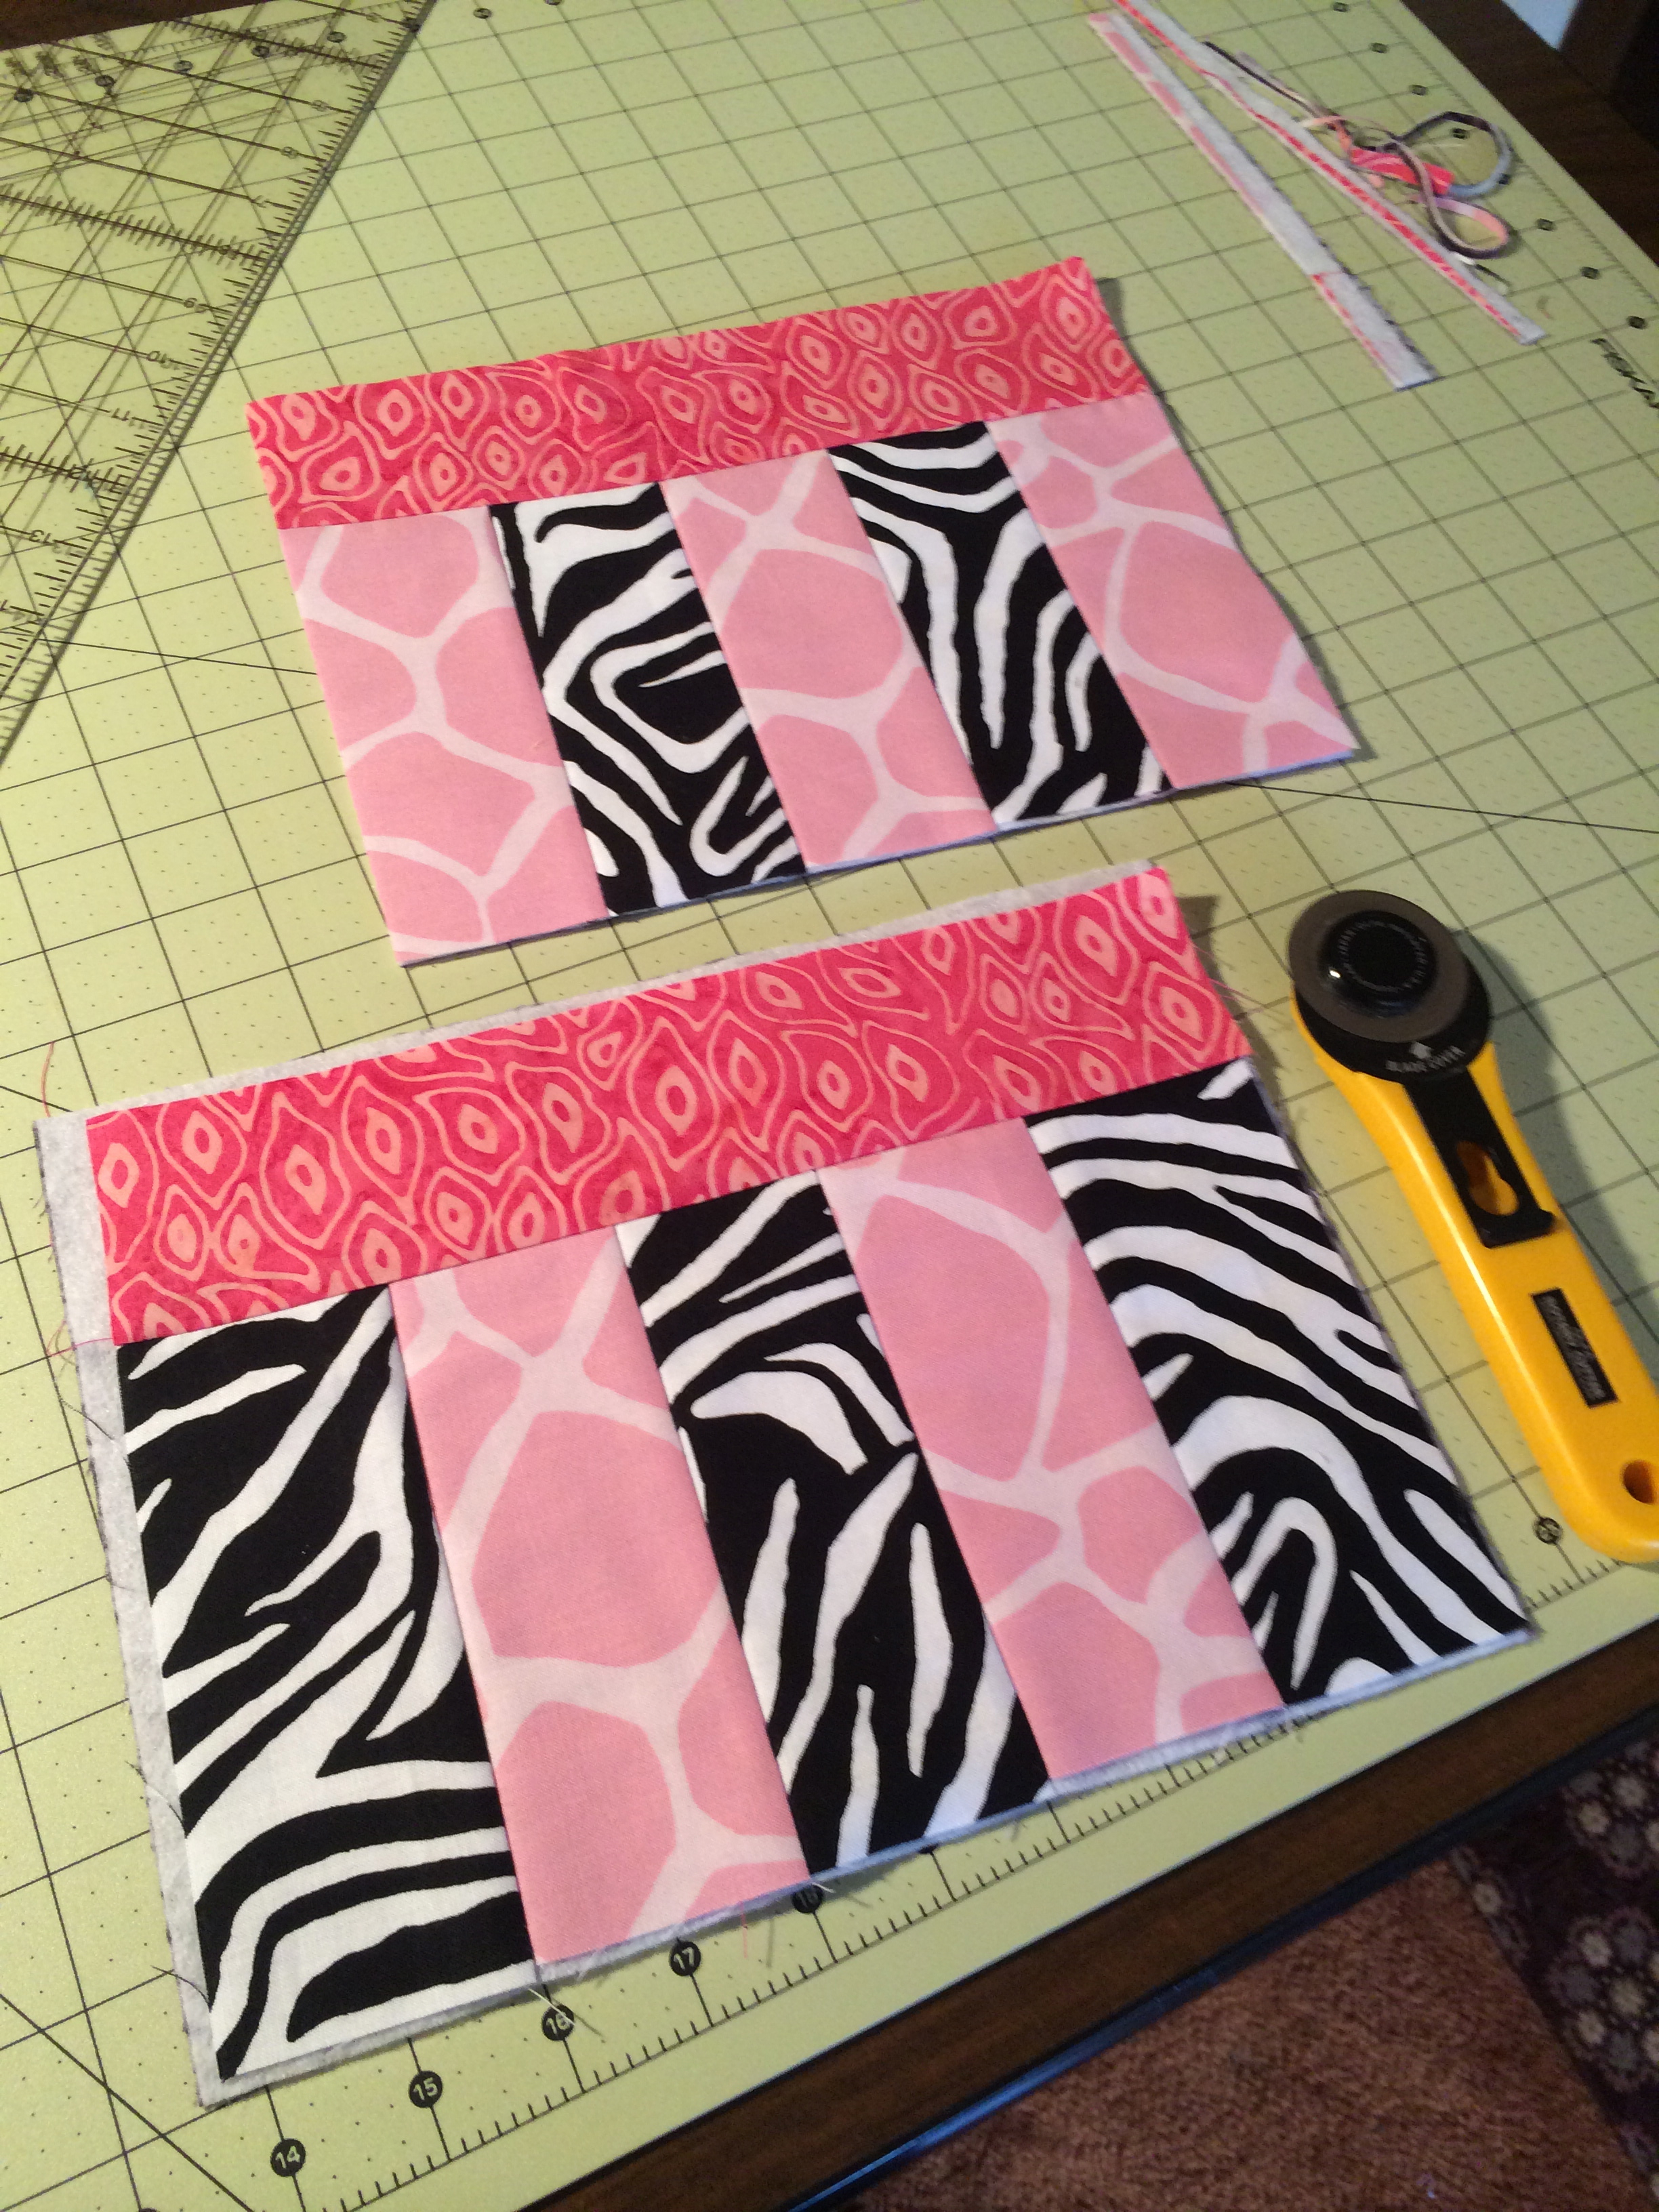
Mom told me that it is best to always iron throughout the process, when possible. This helps to make sure that all your seams lay flat and don’t cause problems later.
The strips didn’t quite cover the whole piece of batting/lining, so I had to cut off the edges and make sure the two pieces were the same size.
-
- The front
-
- The back (aka the lining)
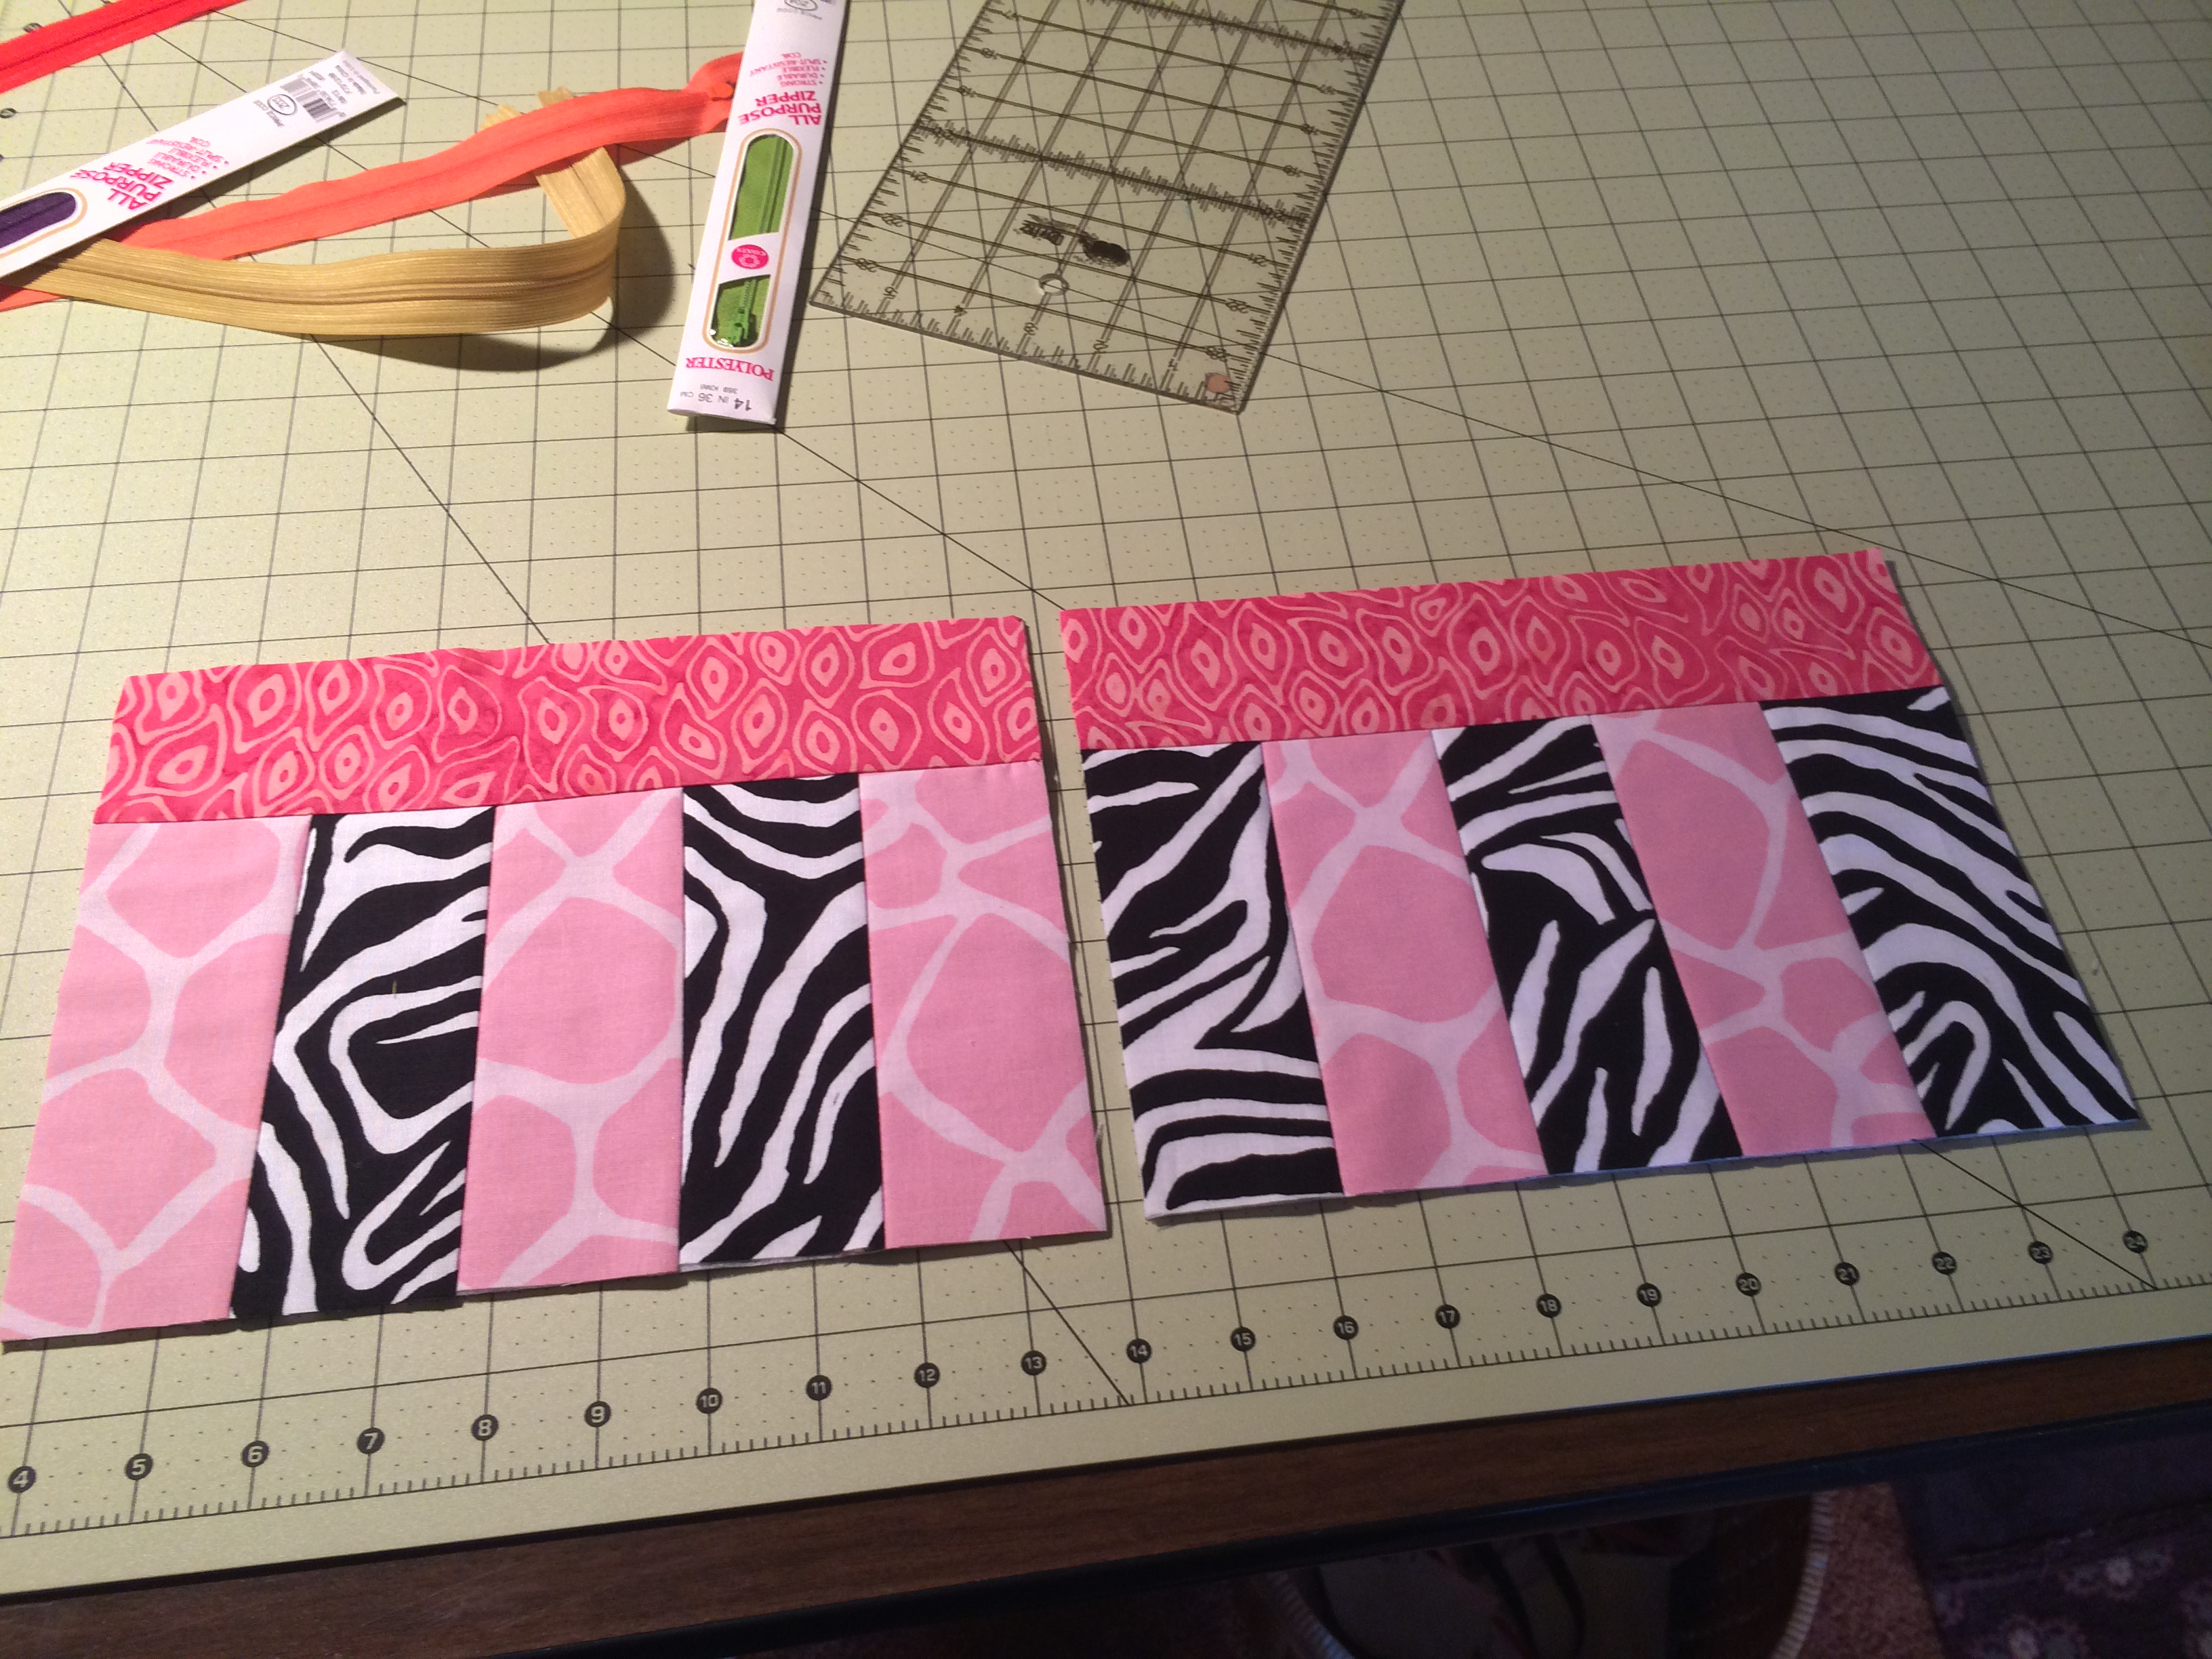
Step 5: Prepare the Zipper
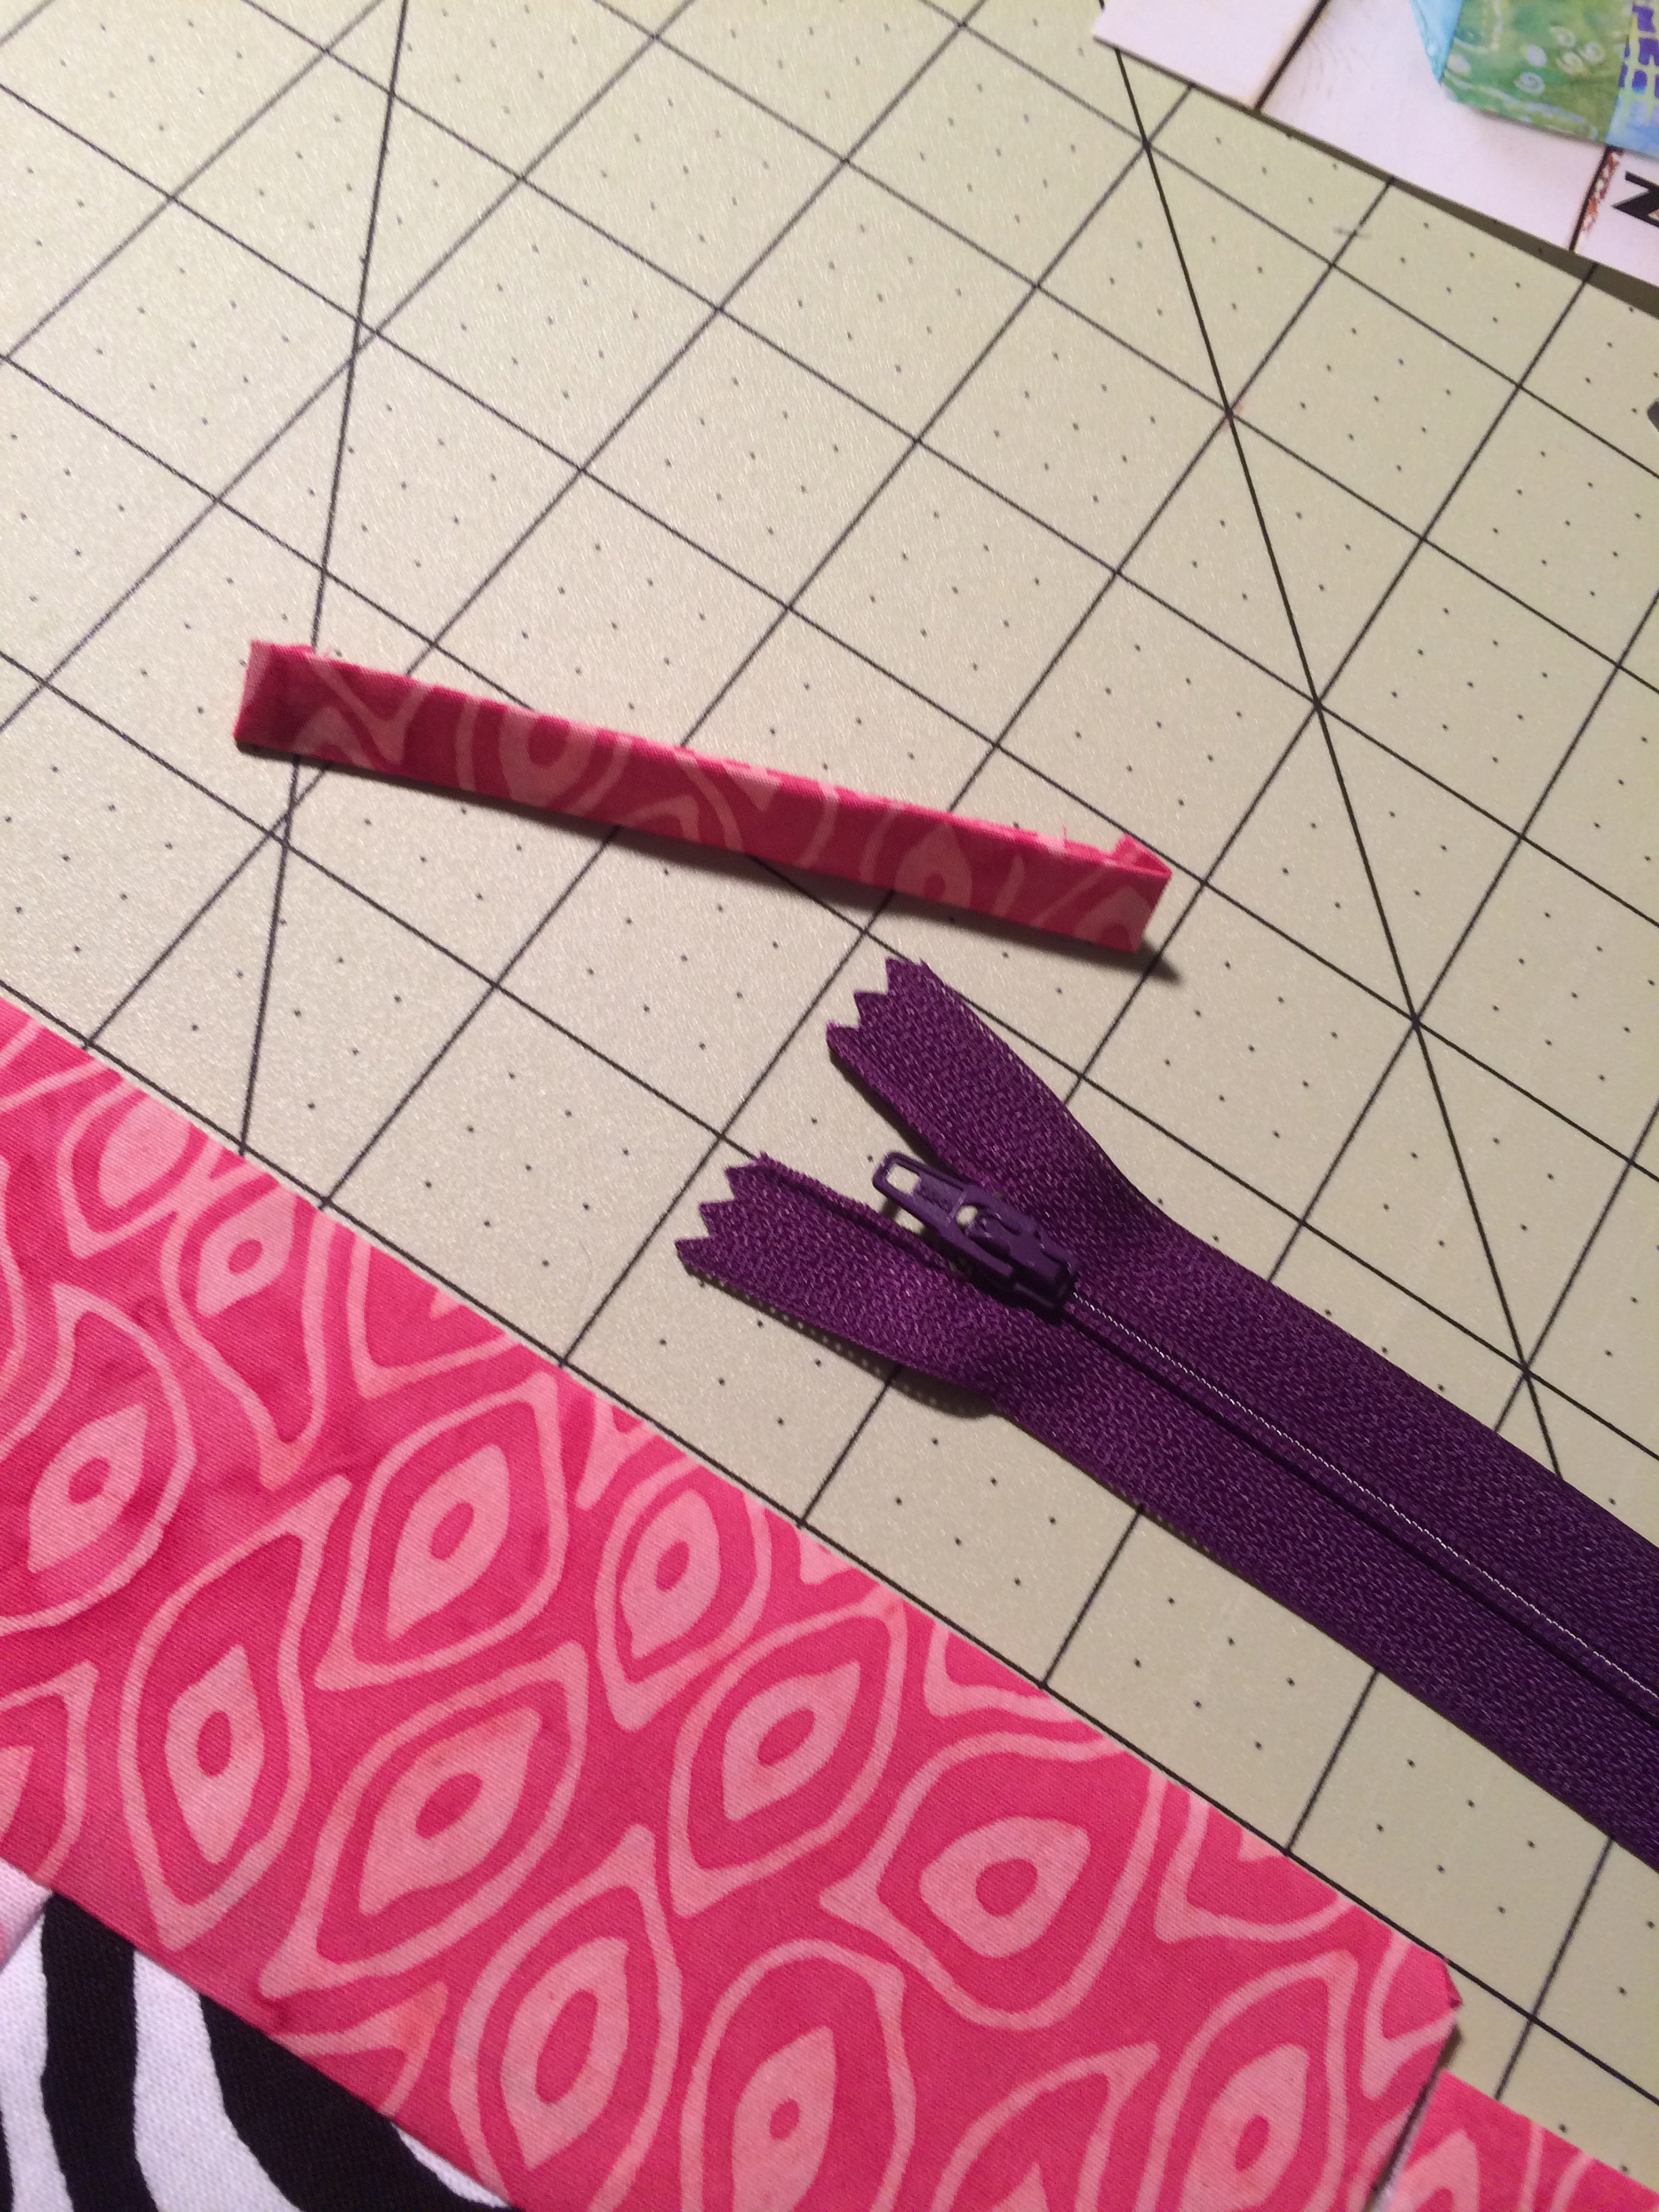 I had always heard that zippers are the hardest part of sewing. I believe it. I still can’t believe my very first project involved a zipper. It drove me crazy! The instructions were simple, and the task itself should be simple, but making it line up right and look remotely presentable meant pulling the seam a few times (or more). Practice may make perfect but, if so, I need a LOT more practice.
Step 6: Connect Both Sides with the Zipper
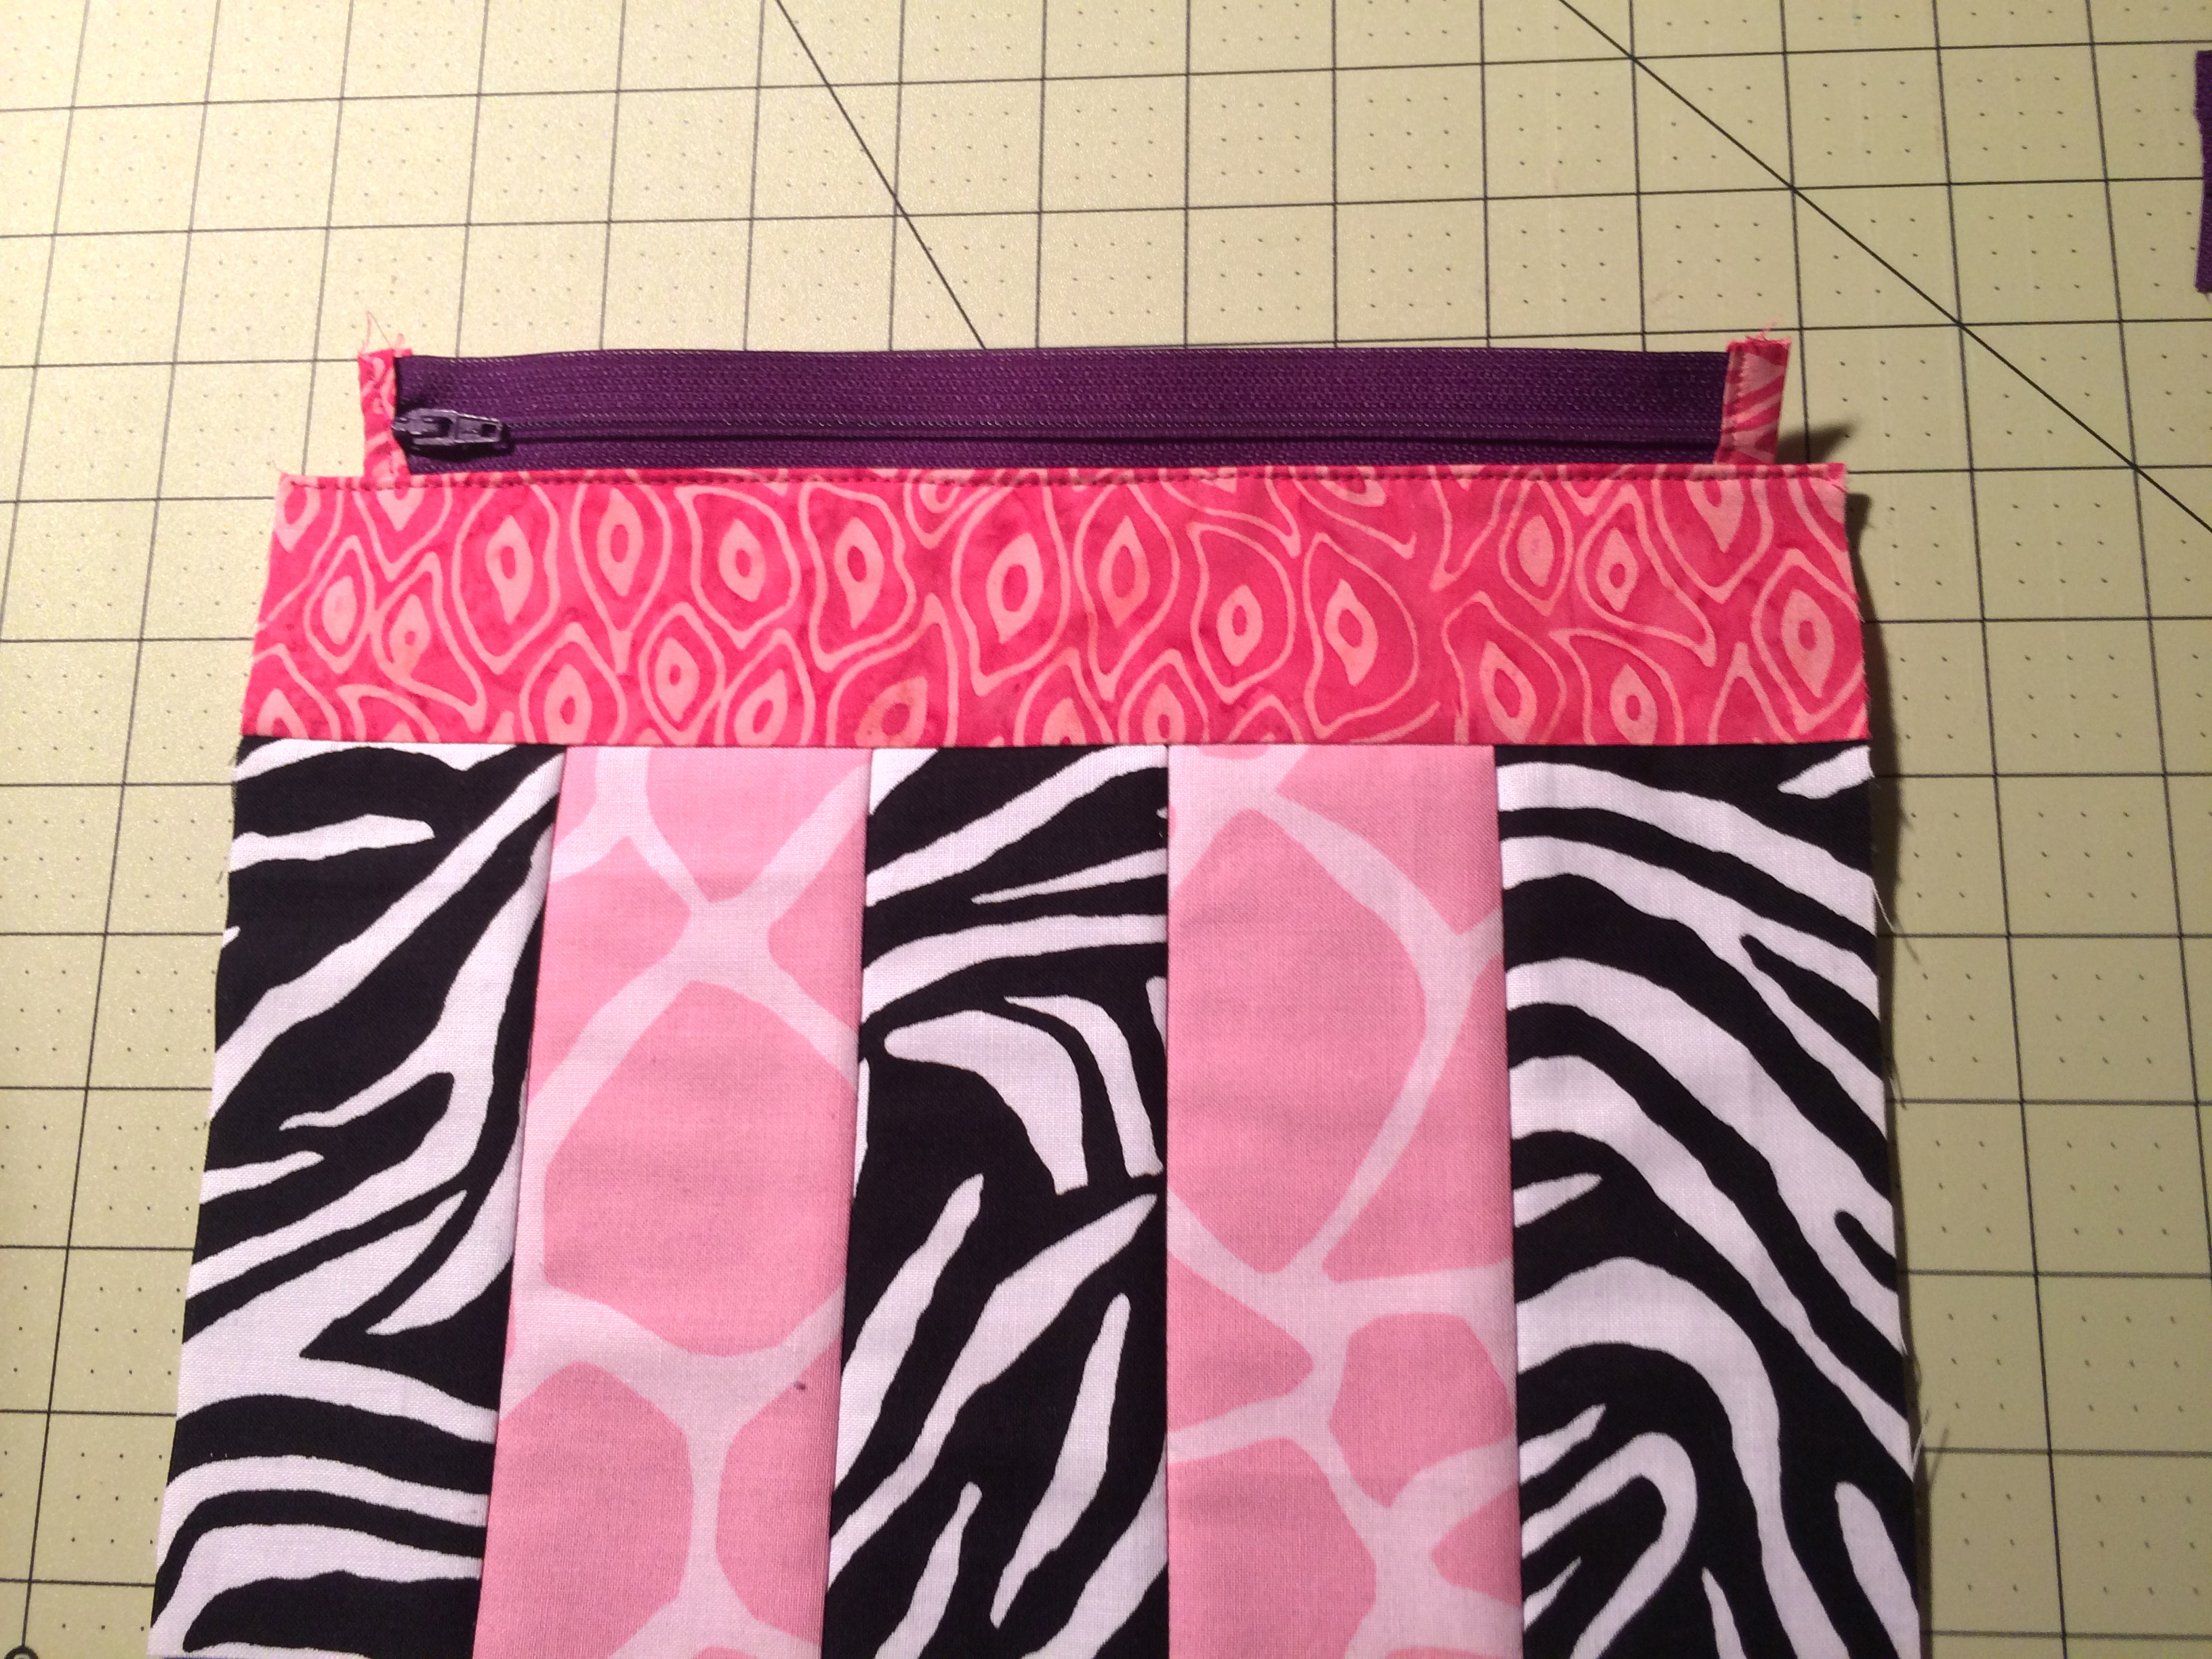

The zipper attached to one piece (above).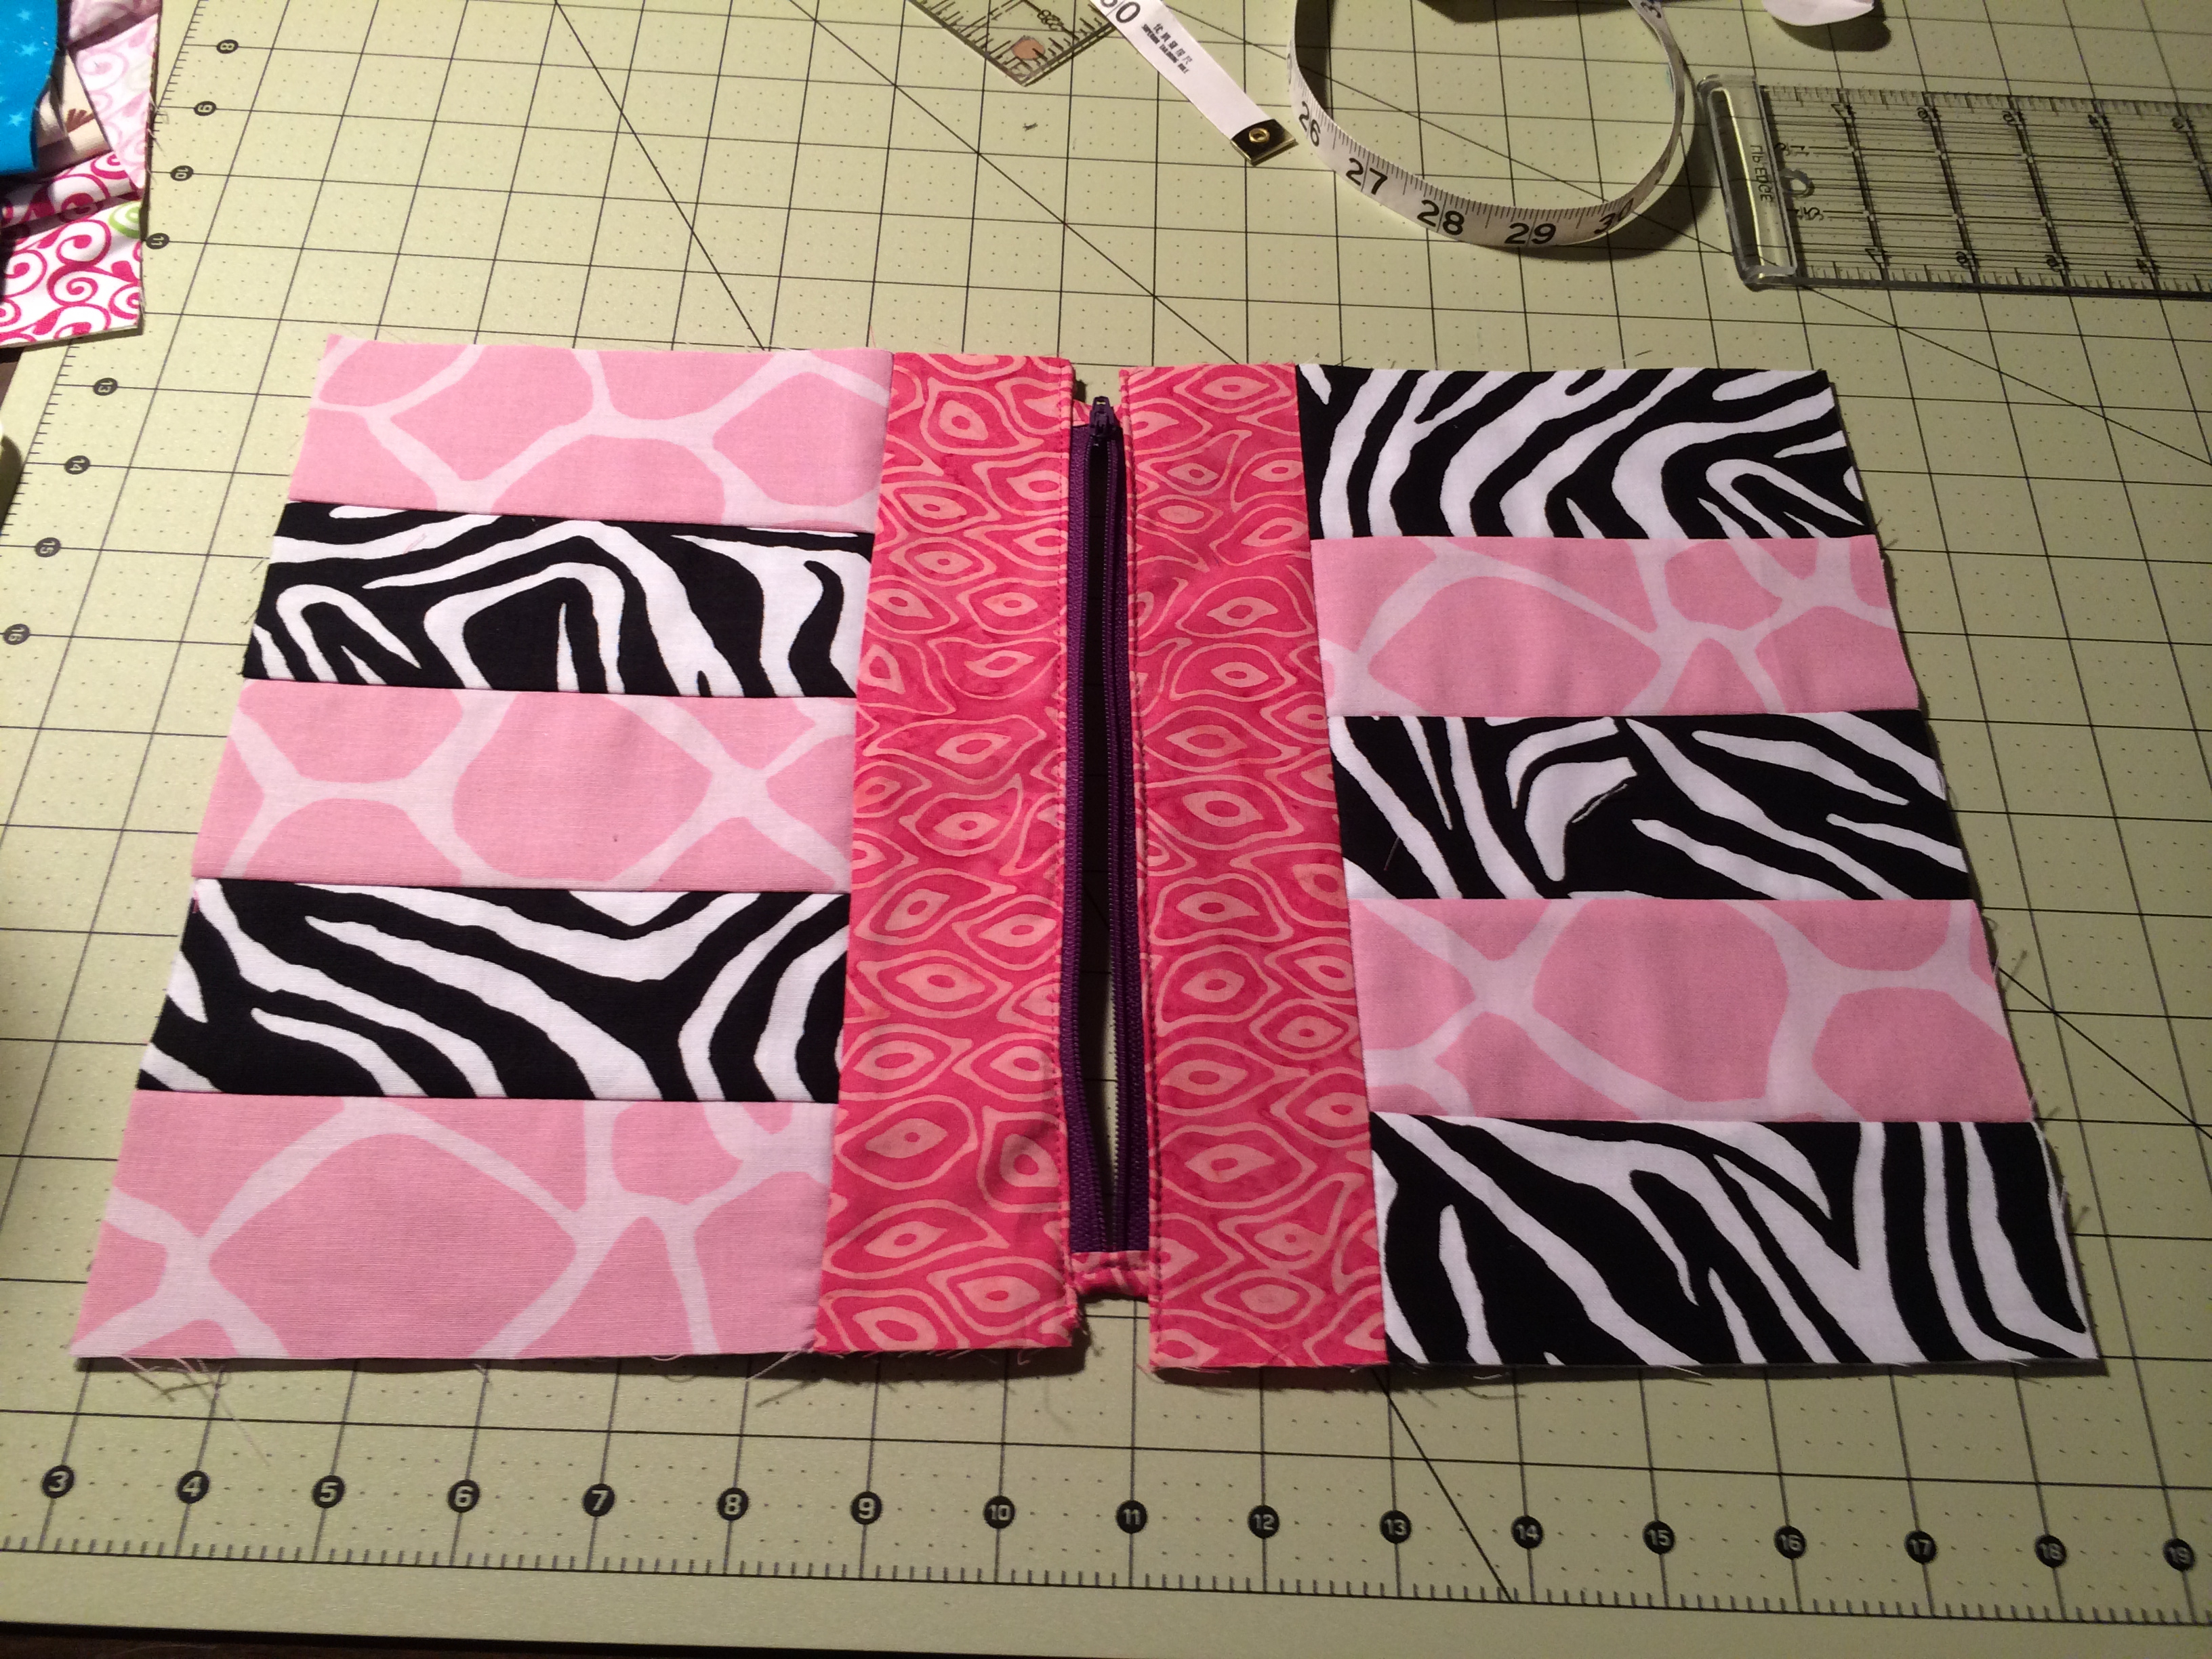 Finally, after much finagling, both sides are decently attached!
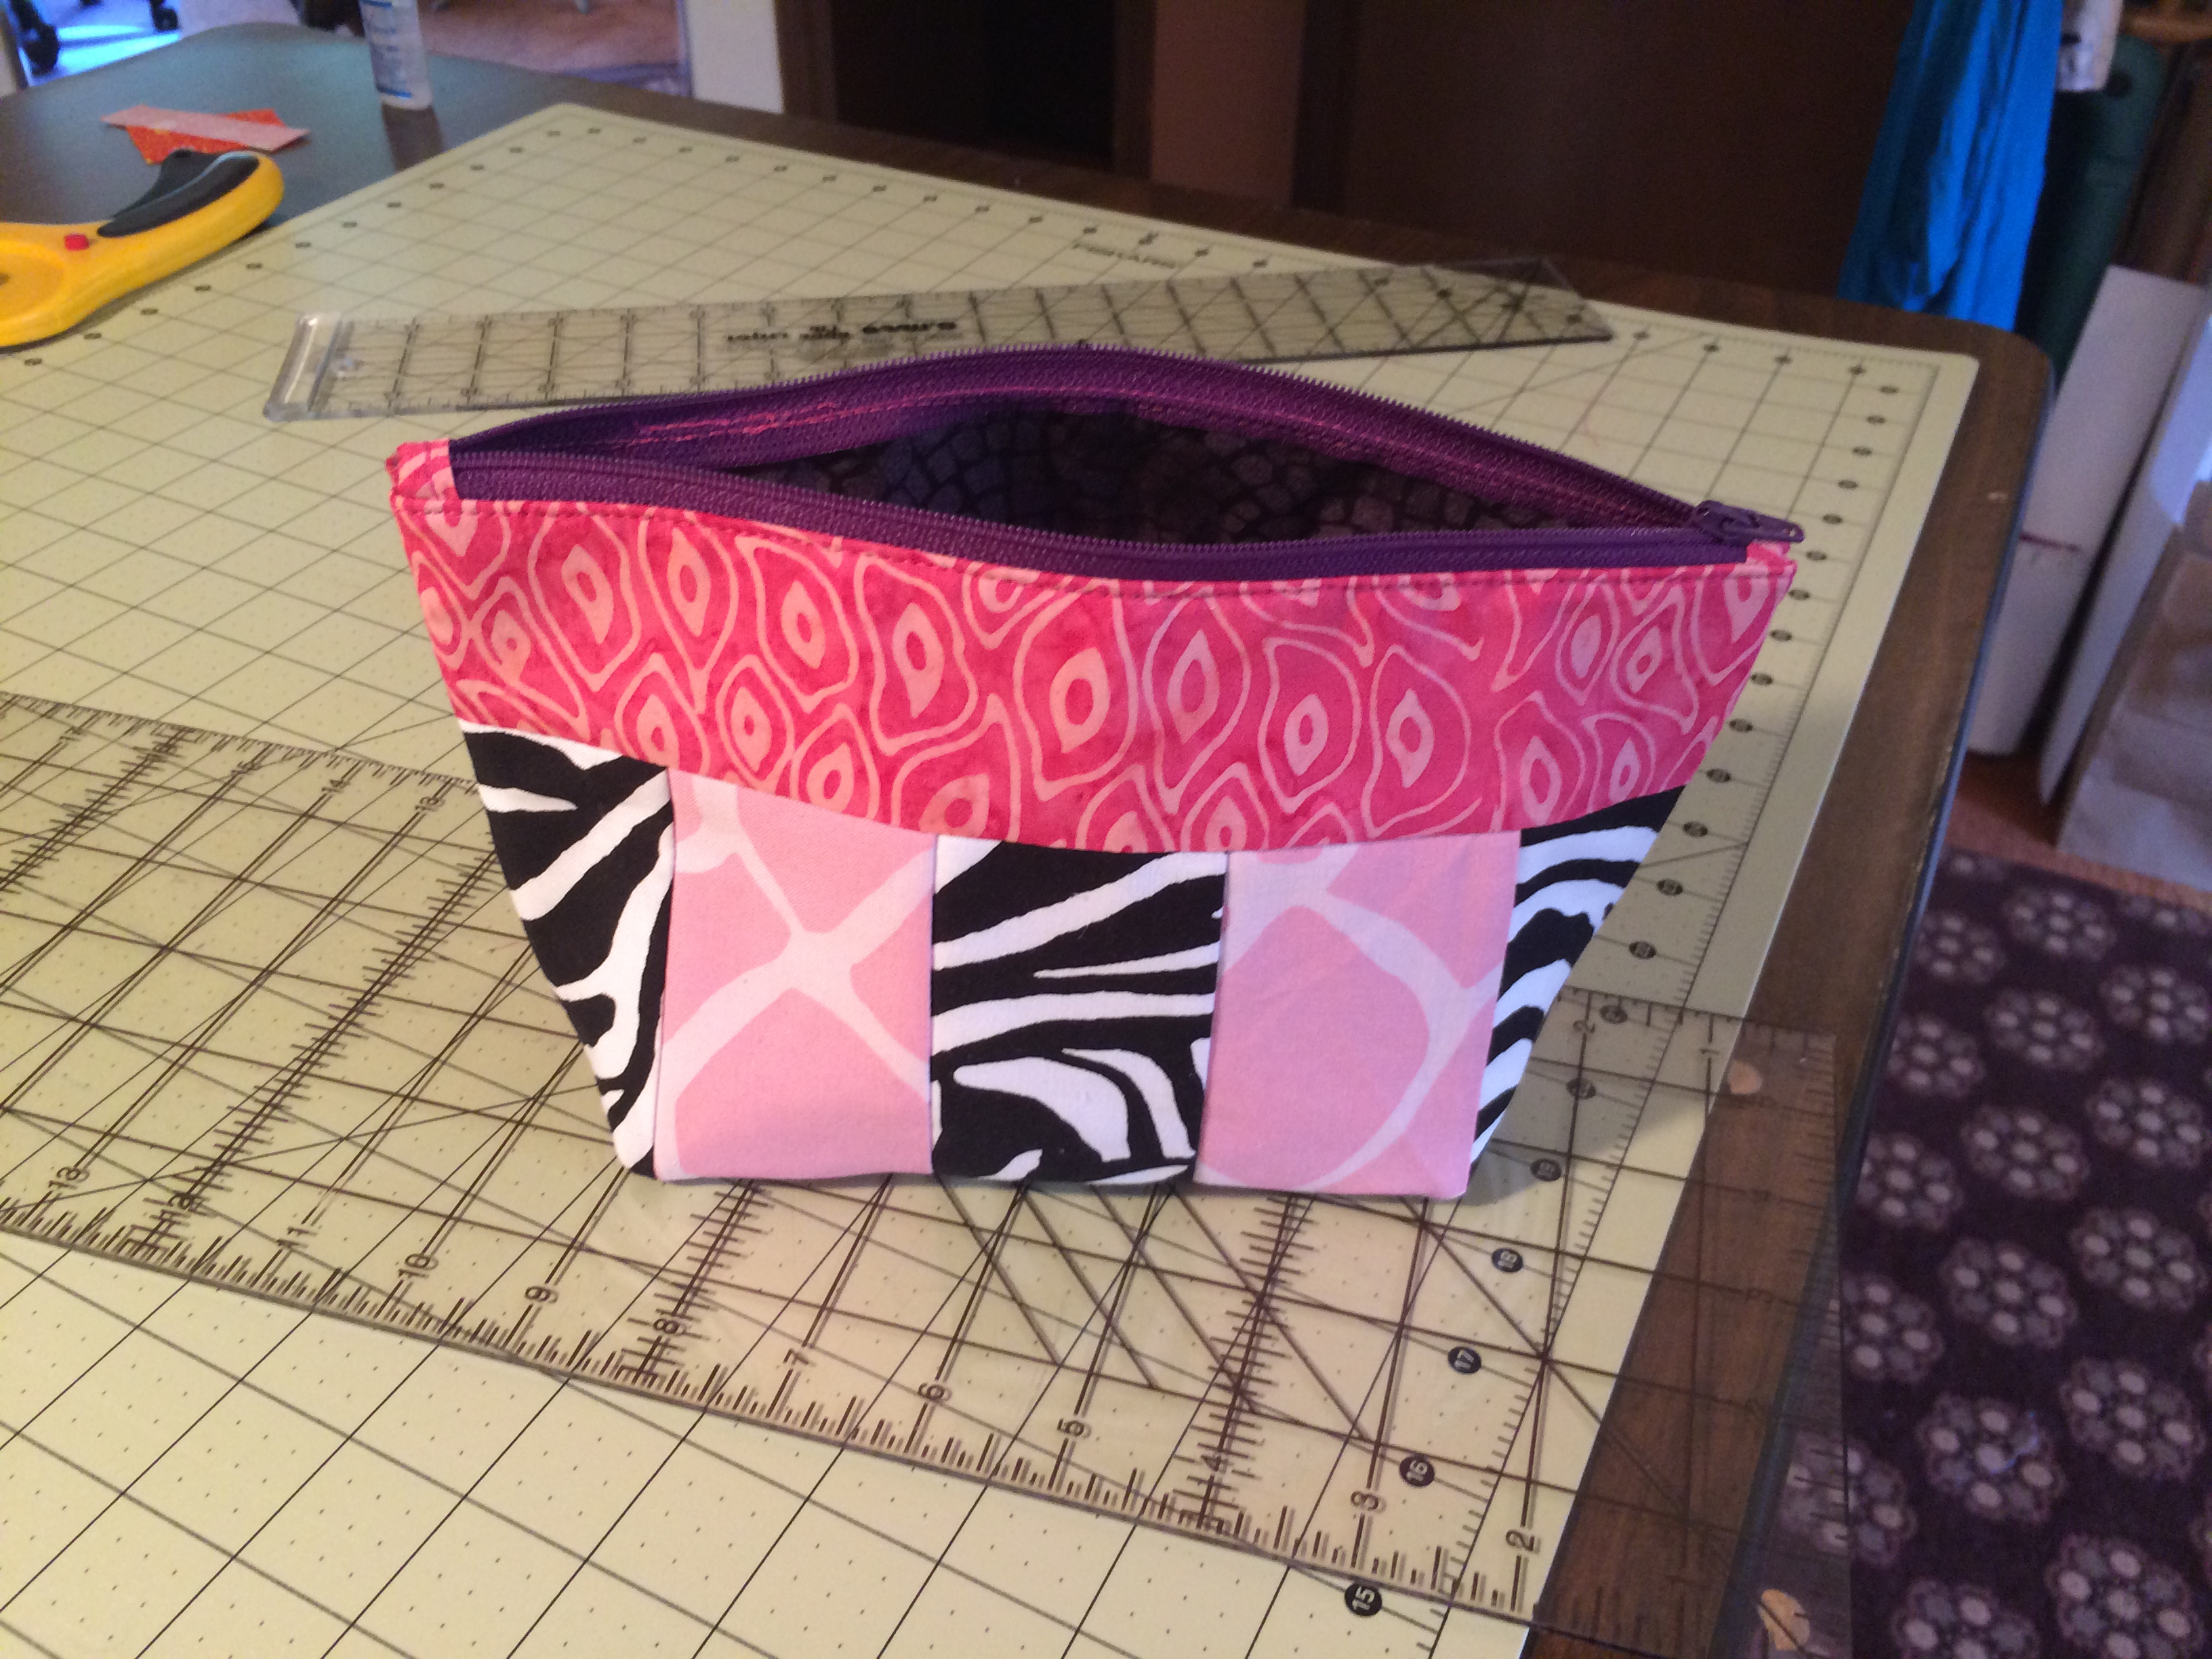
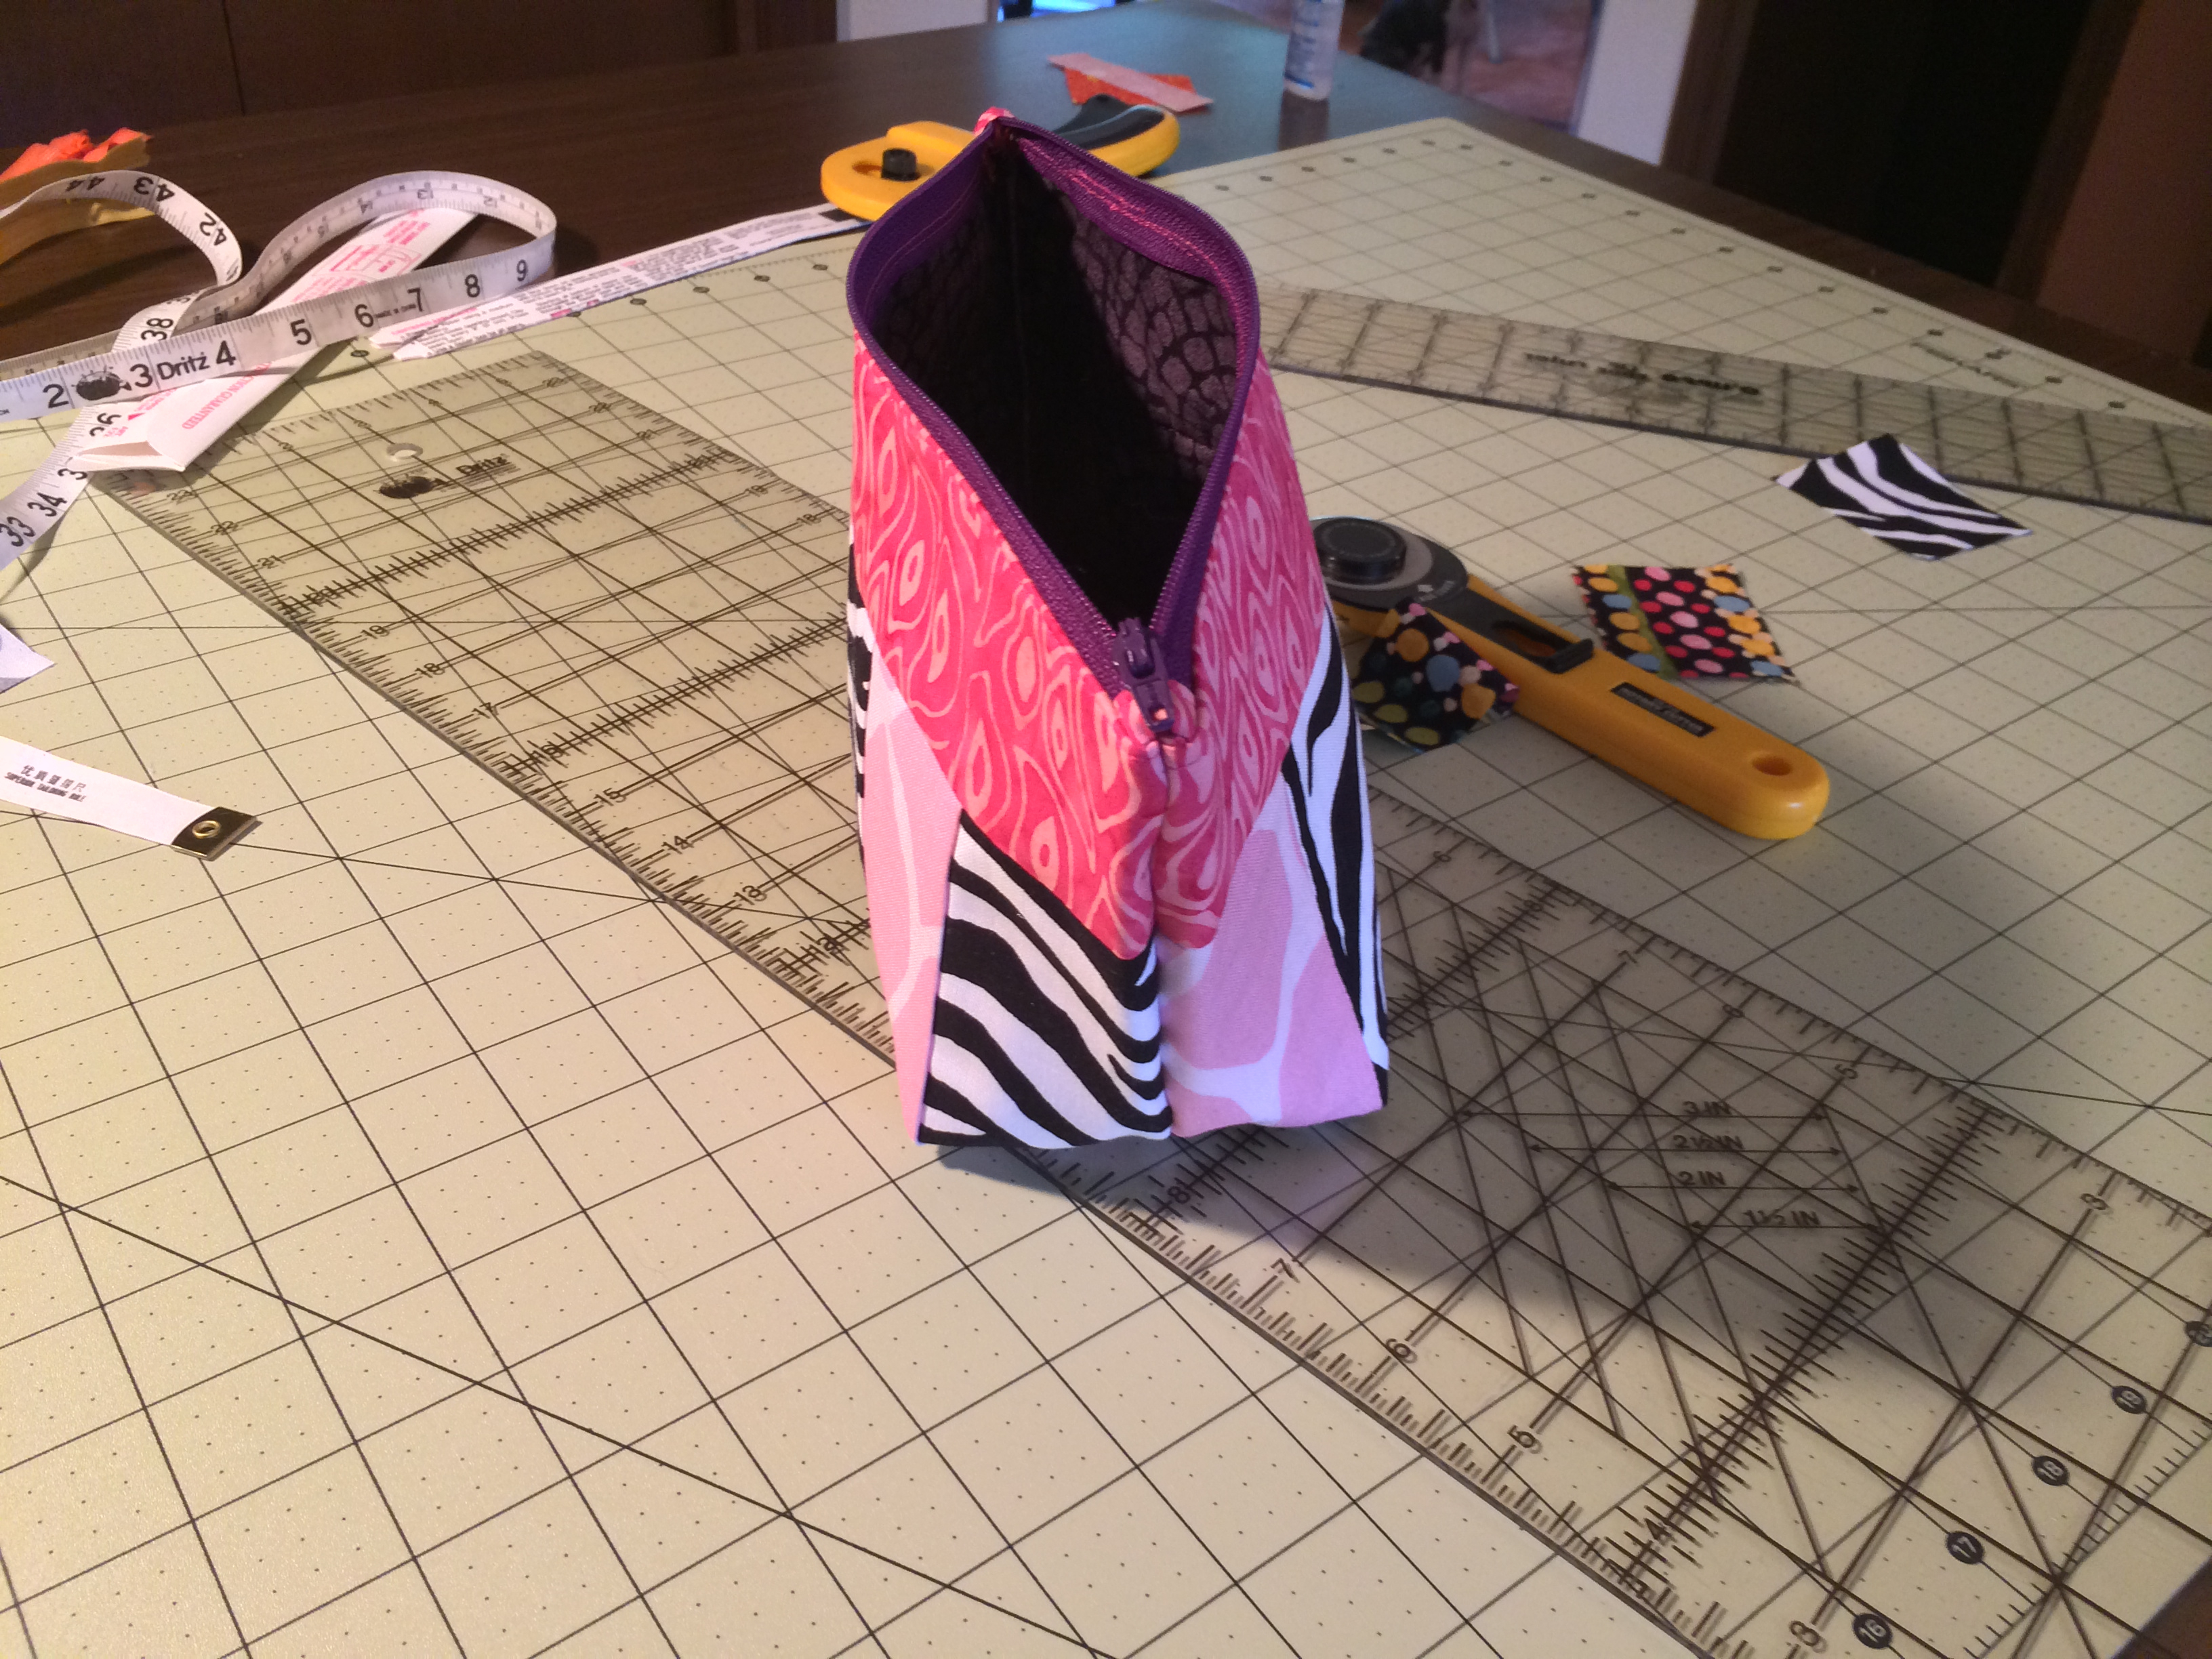
Step 7: Sew Together!
With the zipper open (so you don’t get stuck), sew together the sides. Turn it right side out and voila! A bag! I made this one (my VERY first sewing project!) for my friend Kelly.
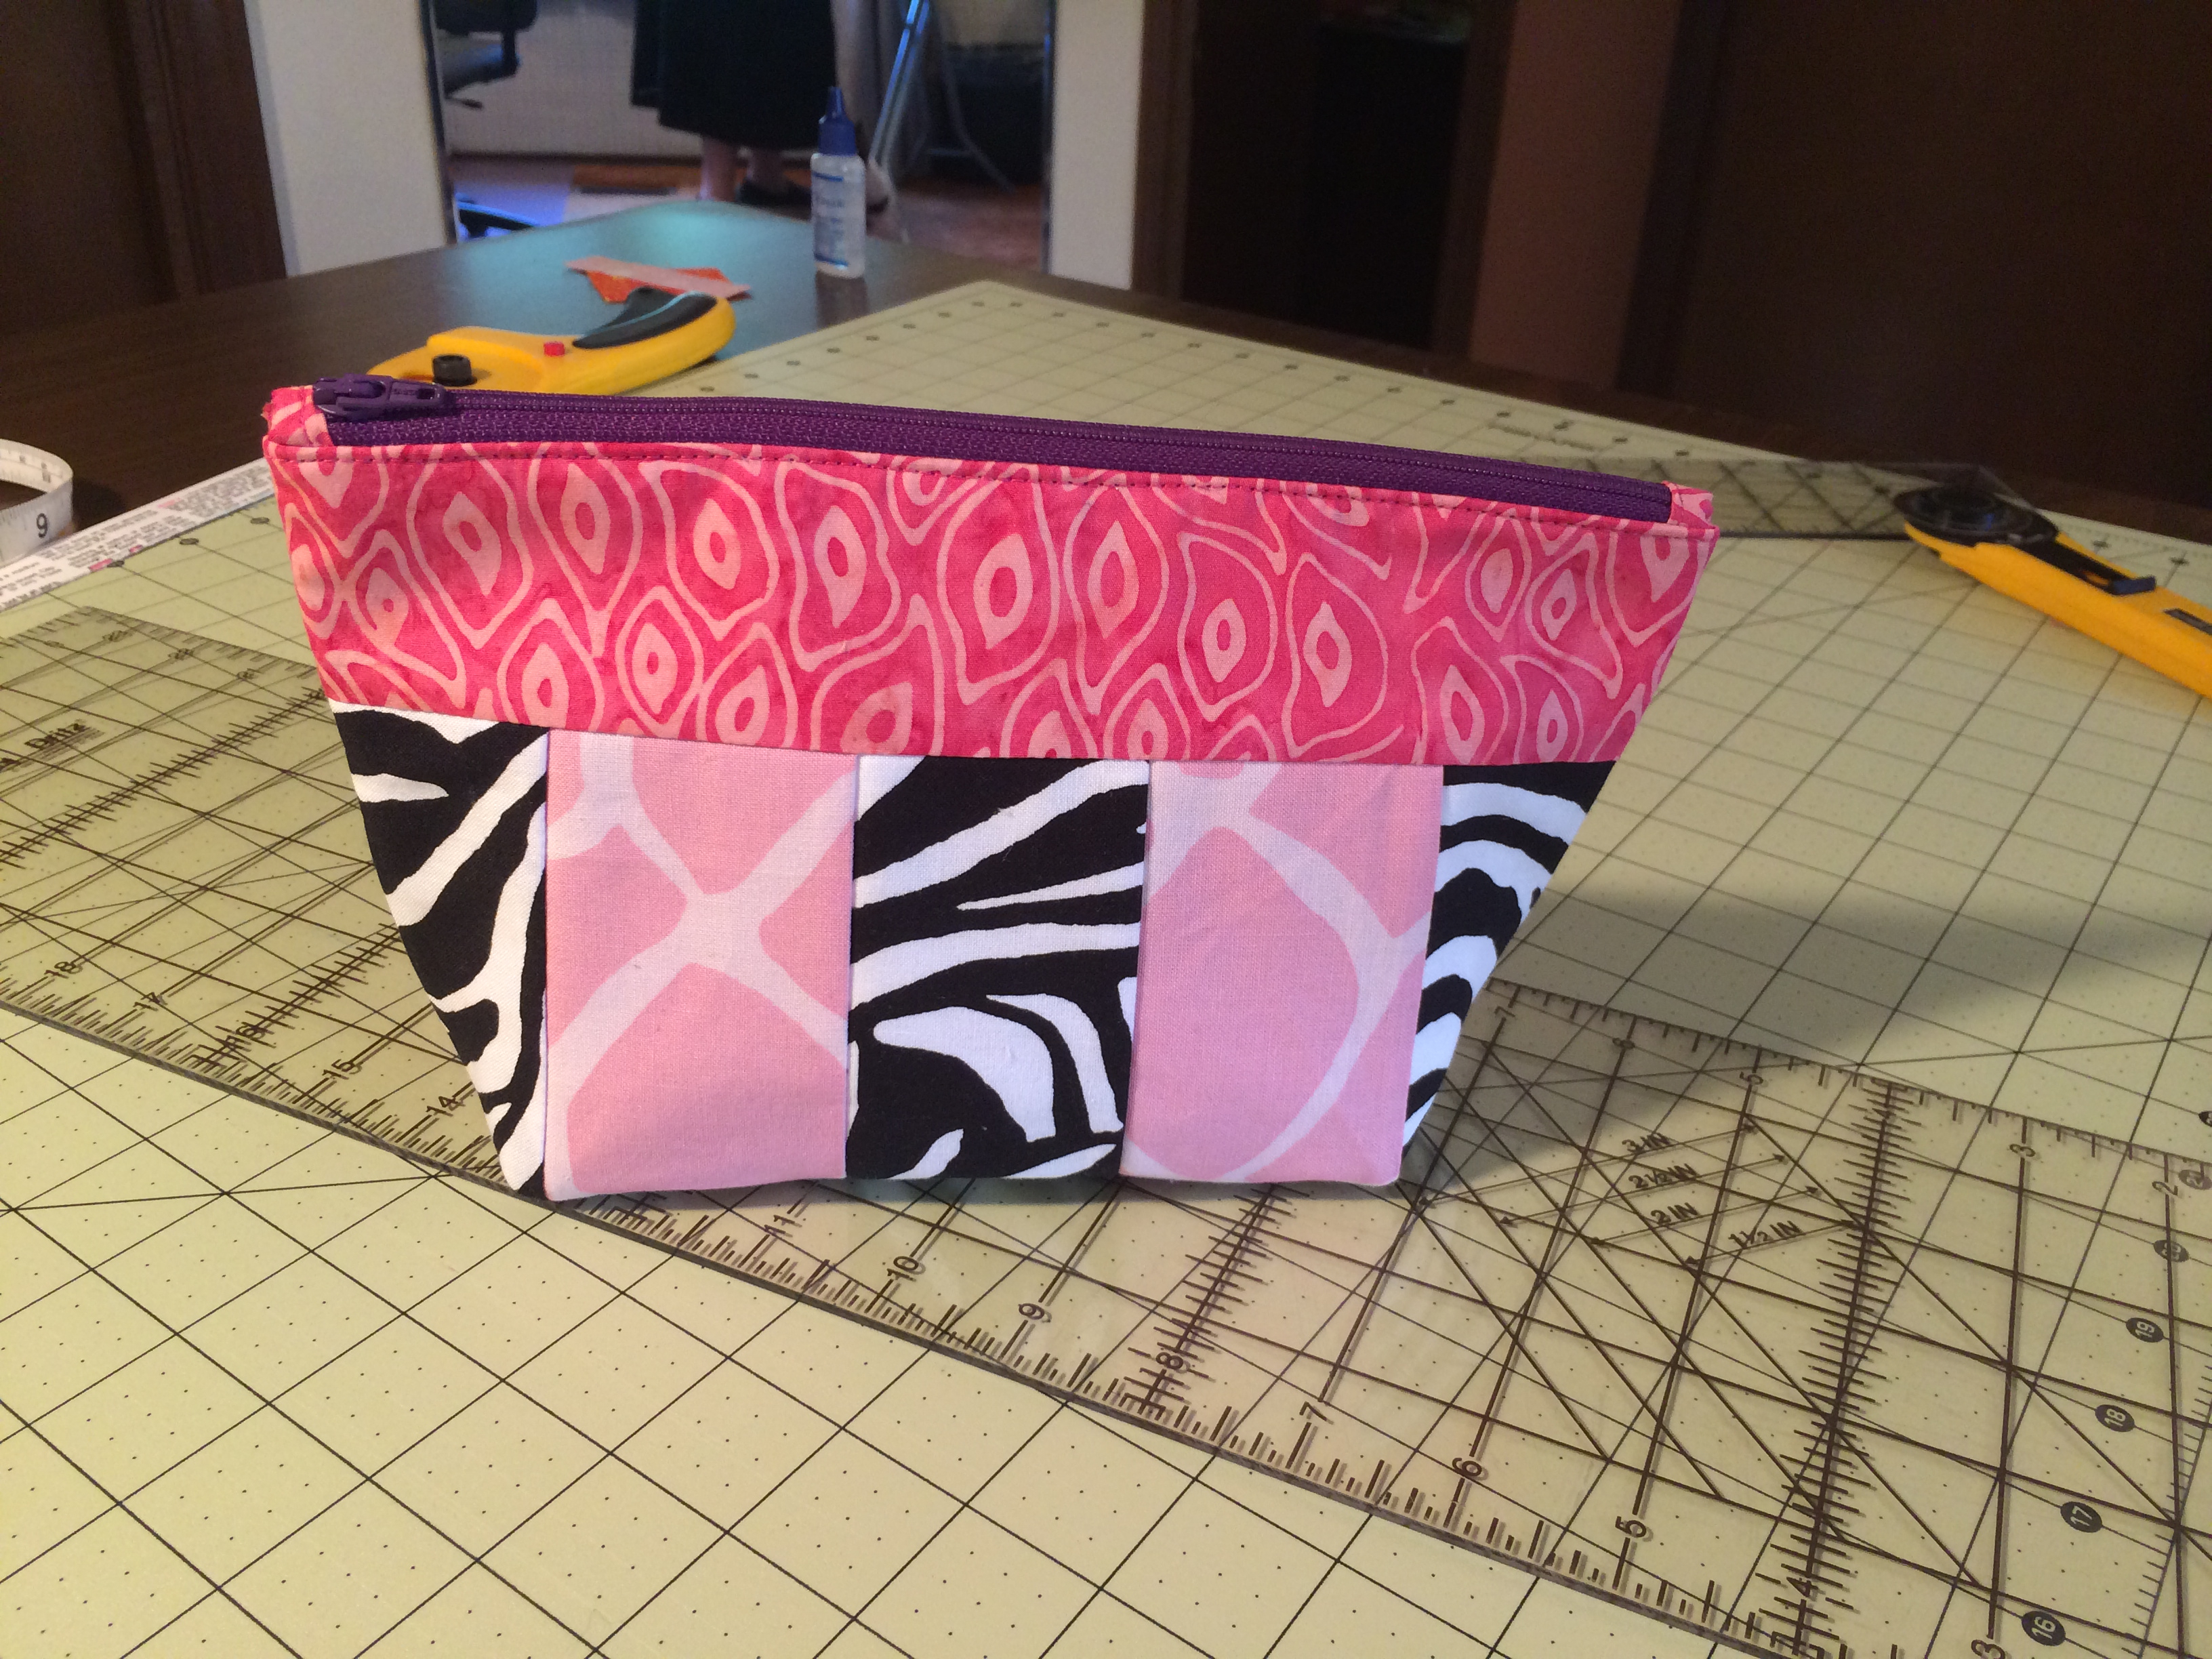
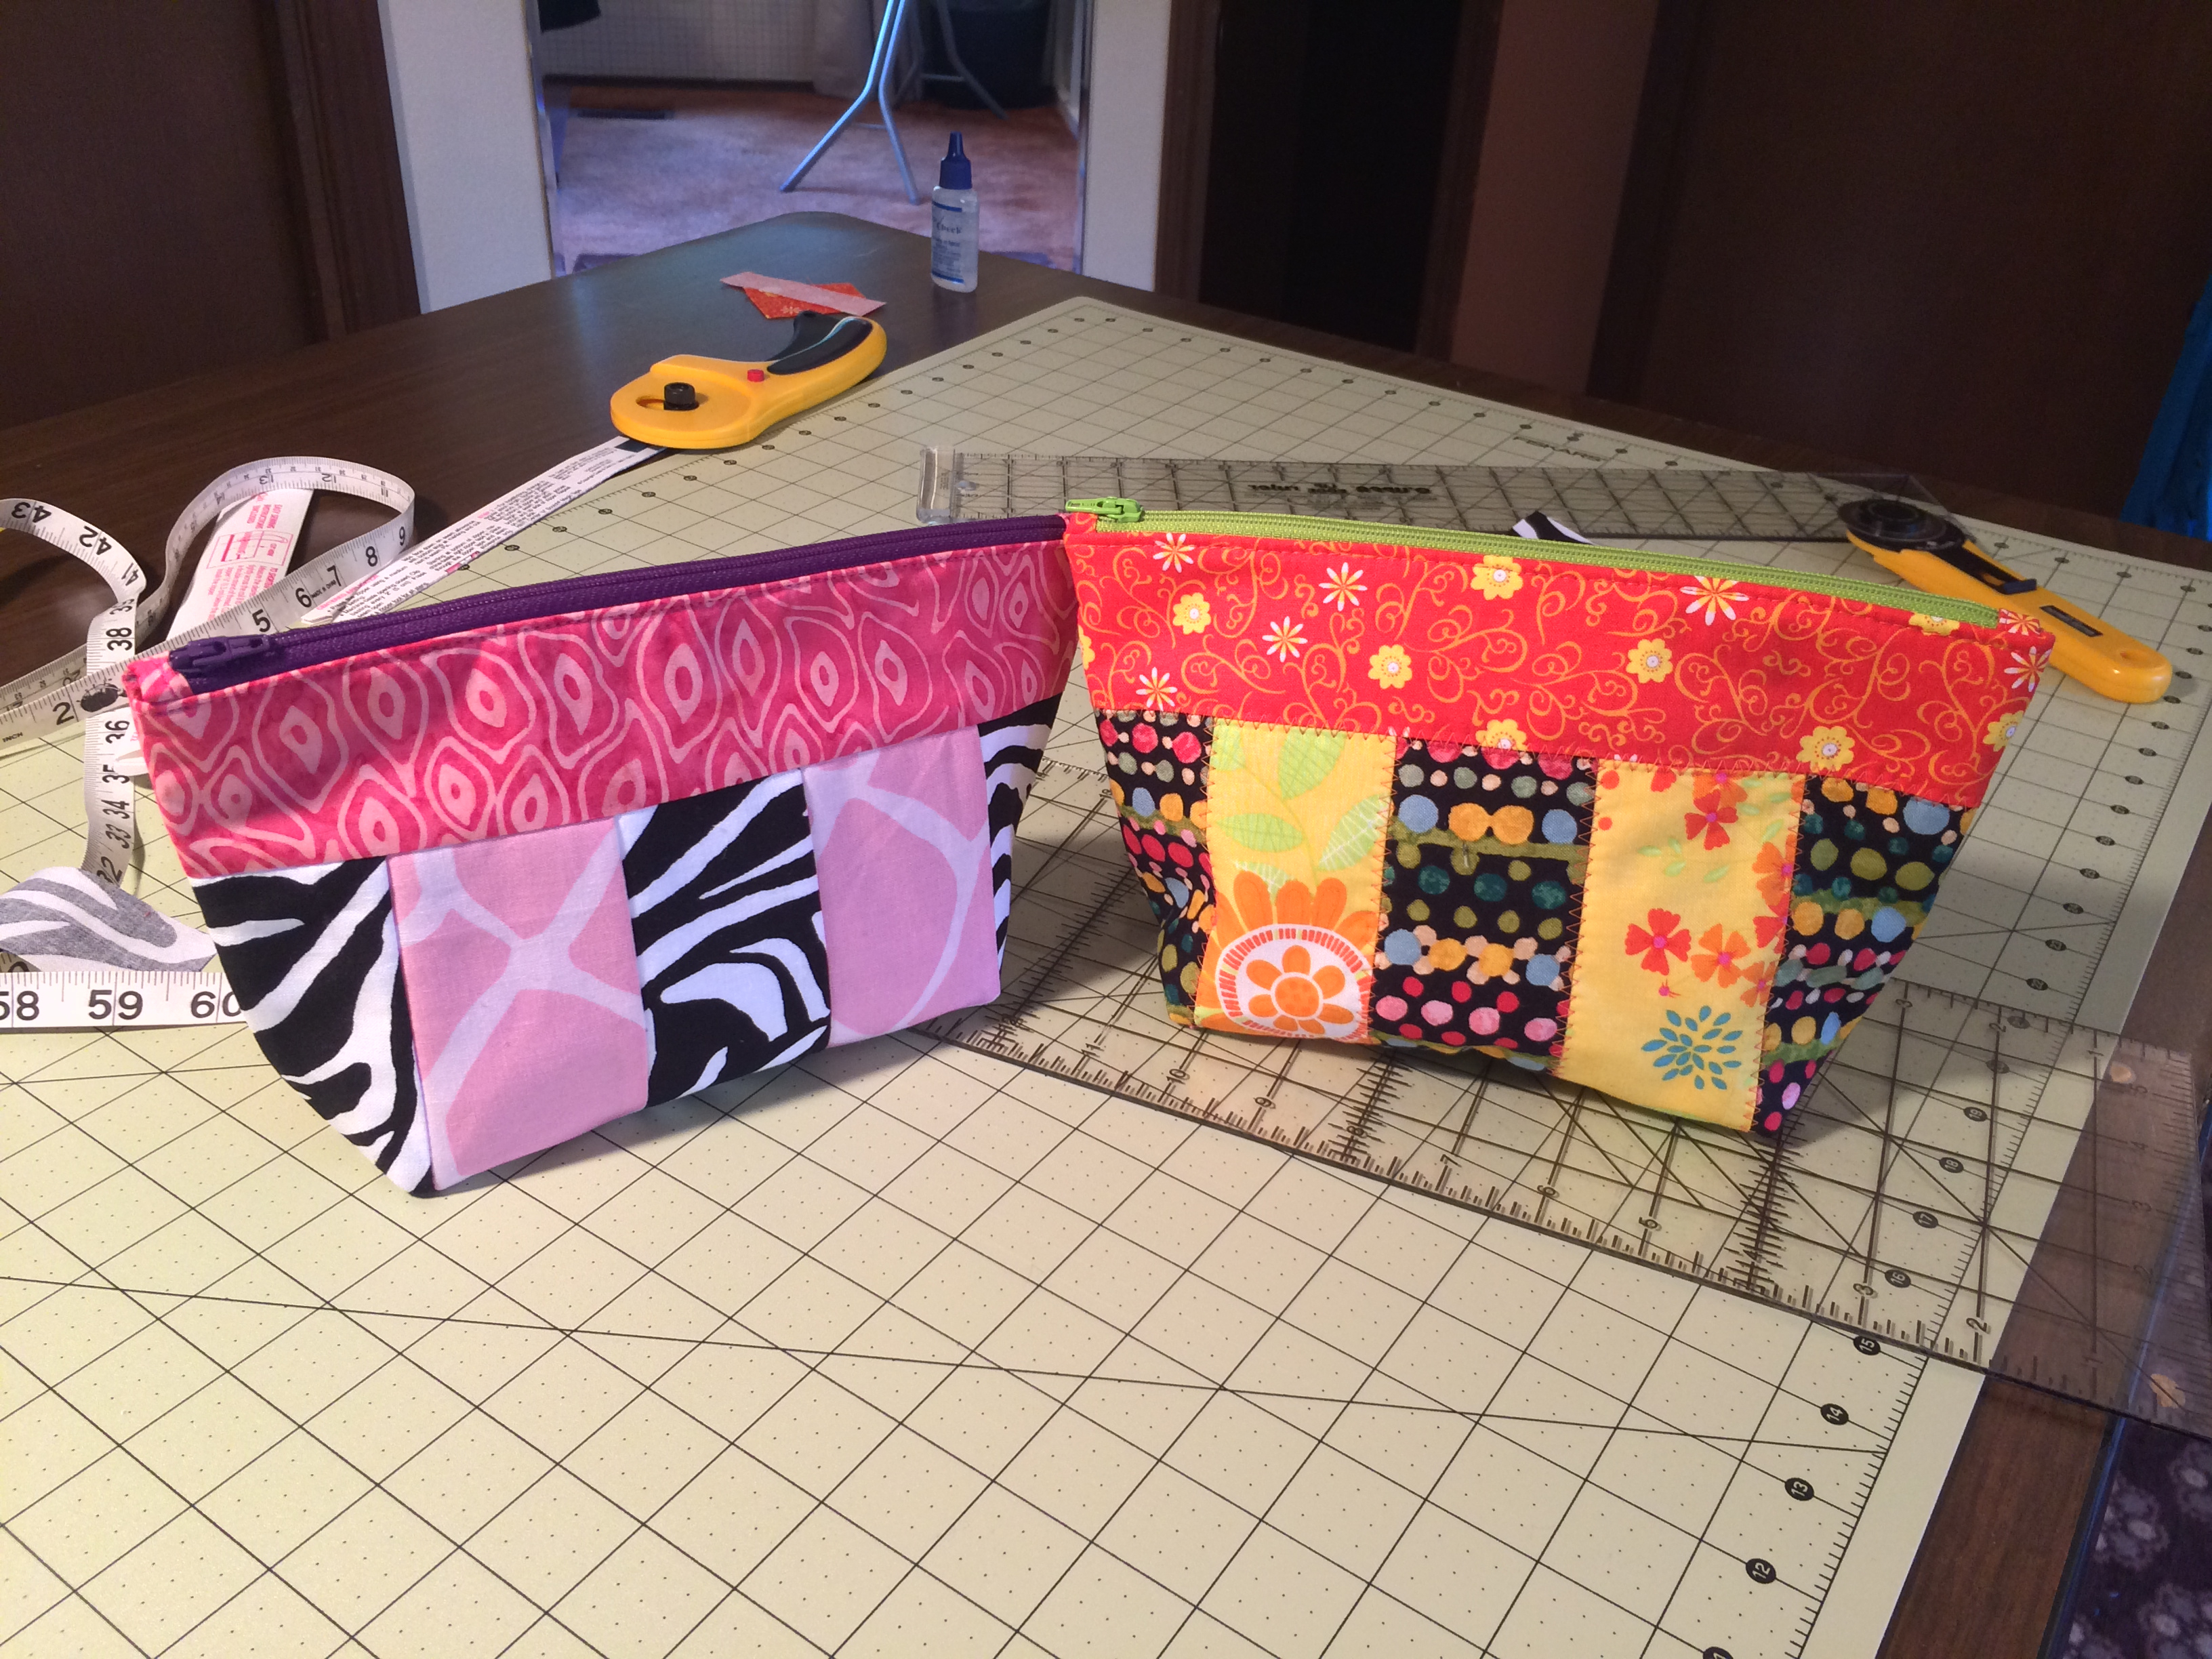 The one on the right is my mom’s first bag using this pattern, too. So much fun! My mom then proceeded to make me a bag with my initial on it. I love it.
 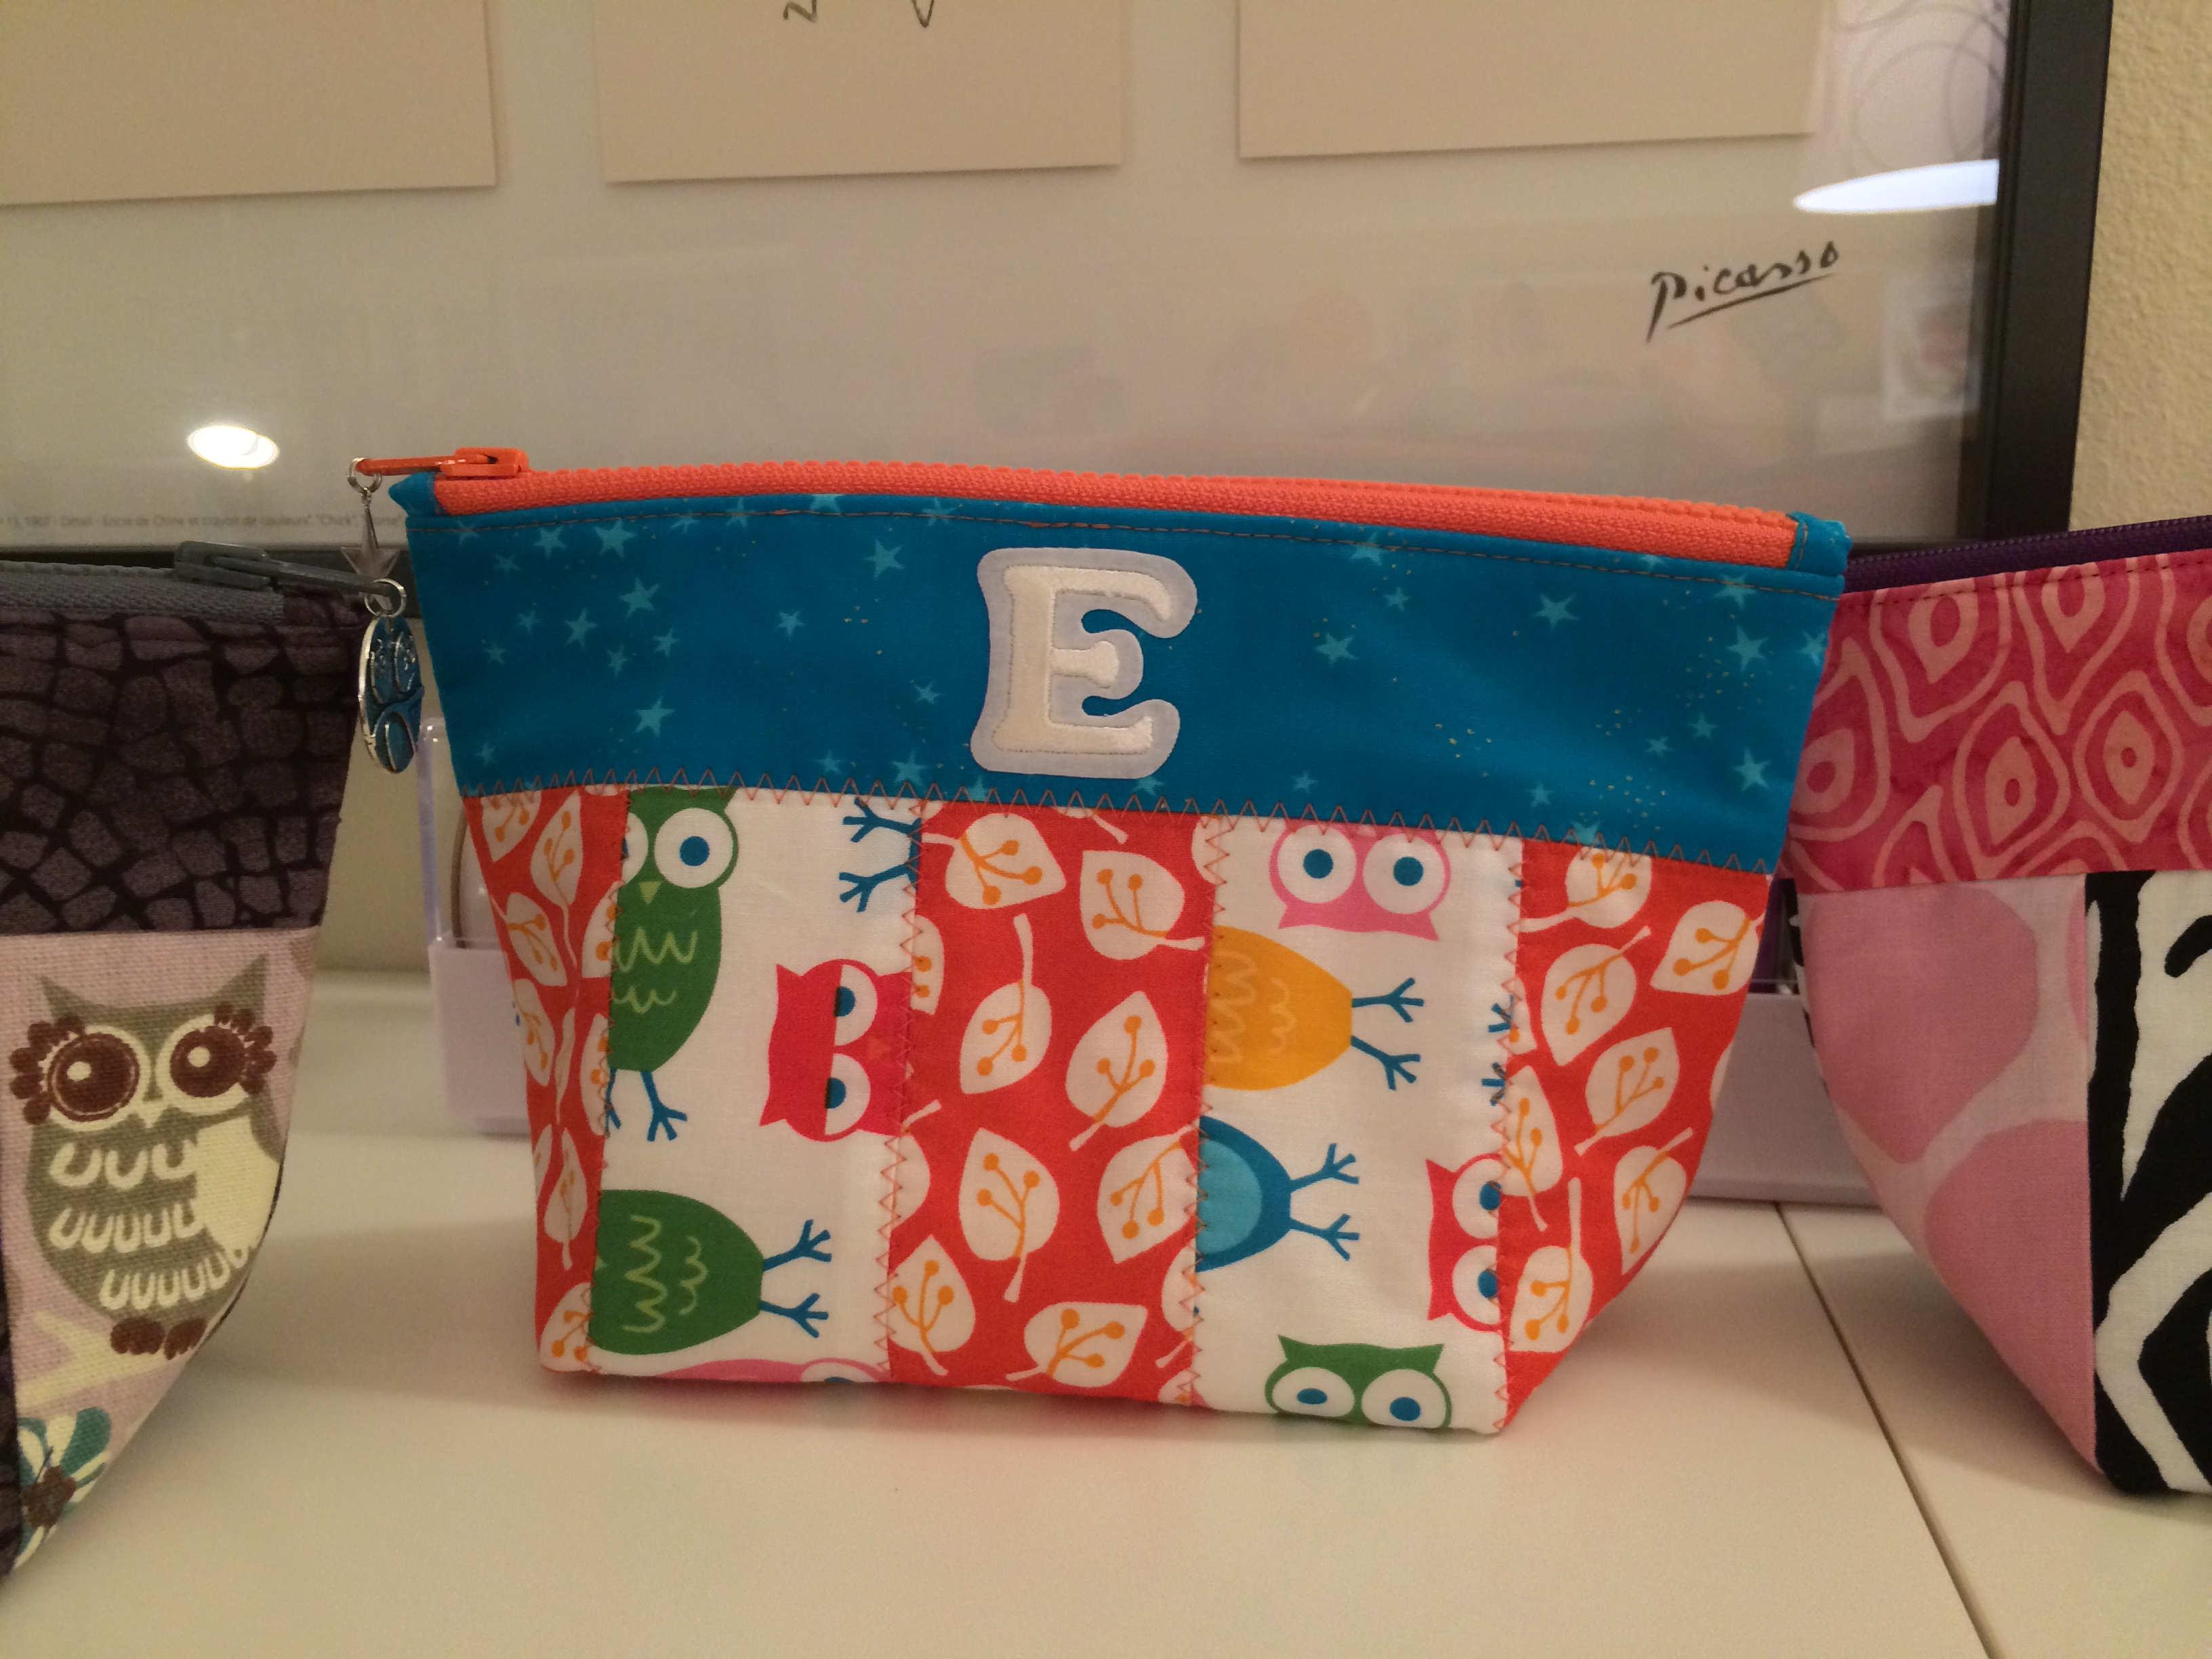 Thanks for the lessons, Mom. I can’t wait to come back to Portland and make even more great things!